
The winter of 2018/2019 had many highs and lows as far as my ski season was concerned. I was doing my second season of ski patrol at Silver Star with Marisa and we had big plans to board and tour as much as possible like the season previous. It started out pretty good with a few tours around the surrounding areas of Vernon, but on January 19th I had an encounter with a tree while sweeping the mountain, and I was out with an ACL / MCL injury. Just two weeks before the accident while we were staying in the cheapest most dungenous motel in Merritt and doing day missions in the Coquihalla Pass, we had booked the Wapta Traverse for April 24th – 30th. Due to my injury, we had to cancel a few other hut trips that season prior to the traverse, which had me gutted, but the Wapta was attainable if I worked hard on my rehab.
Three months later after rehabbing 3-4 days/ week at the gym and pool and I was finally cleared by the doctor to be able to do the Wapta. I was a little out of touring shape so we set-up camp in Canmore and did some day tours up 93N the week leading up to the traverse. This allowed us to get a little more in tune with the snowpack around the area, as well as making sure all of our glacier travel gear was good to go.
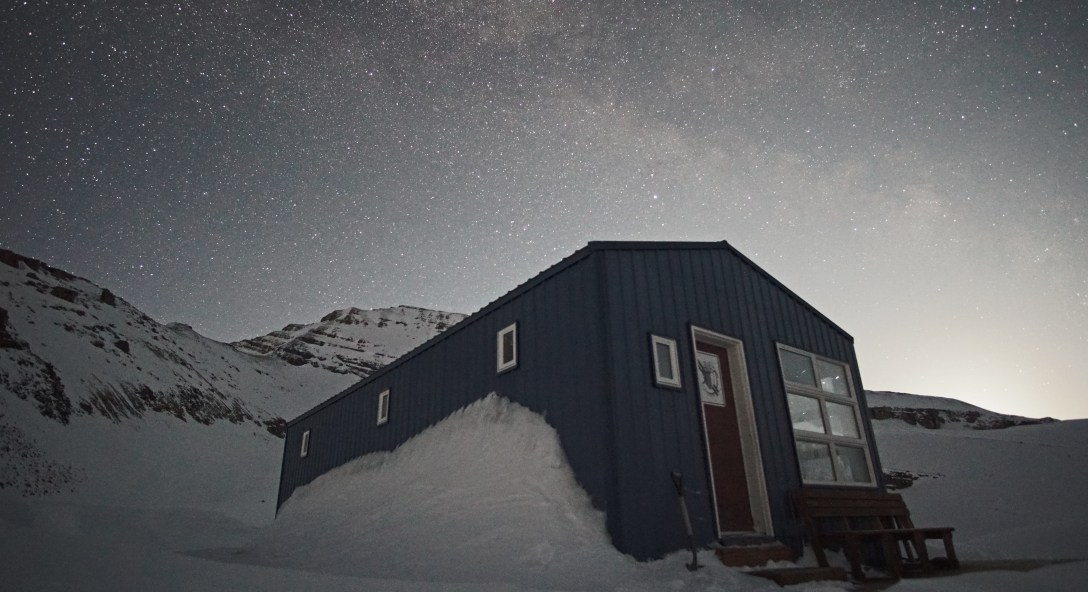
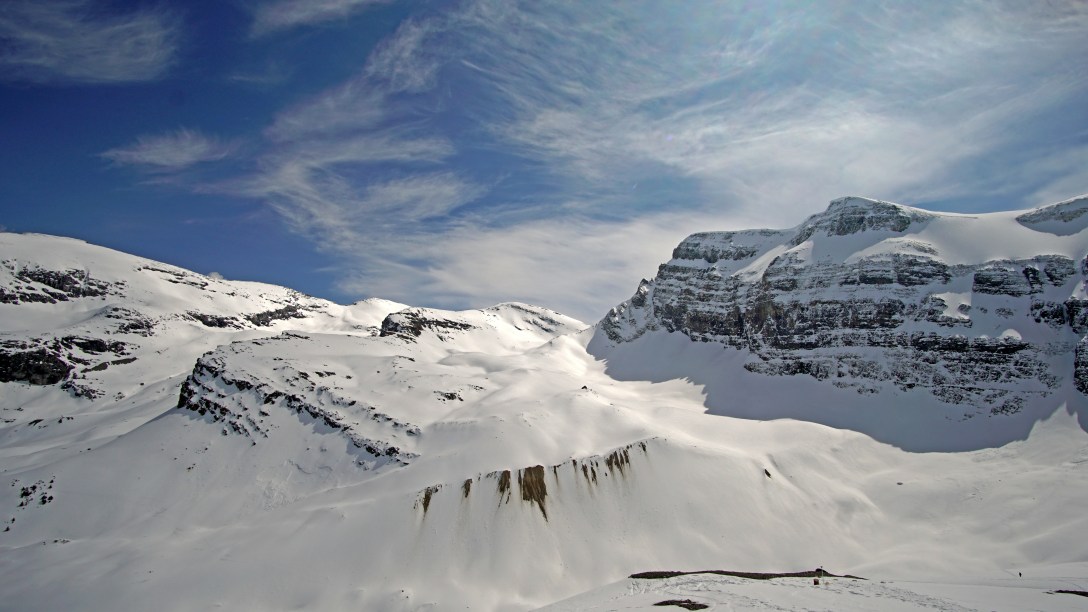
DAY 1 – Up to the glacier
Highway 93 to Peyto hut
Up: 913 m; Down: 385 m
Distance – 11.3 km
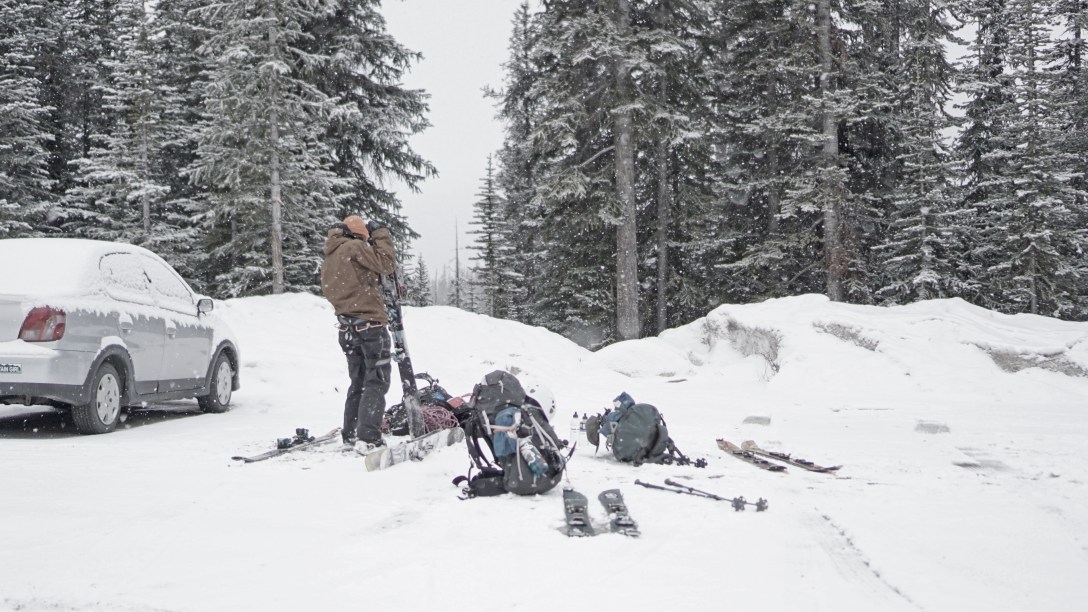
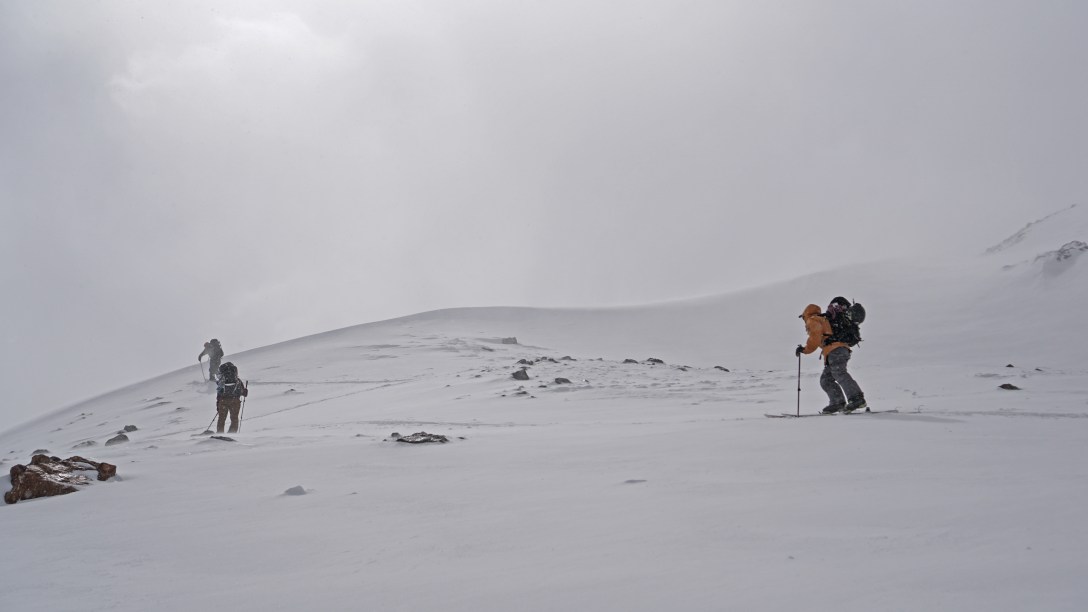
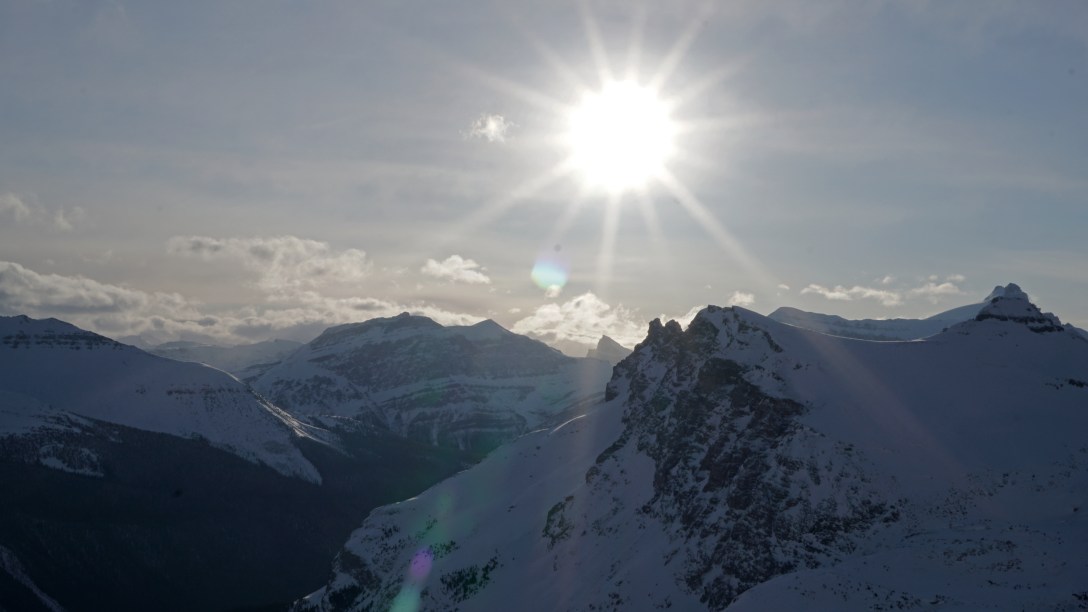
The day started a little rough. My cousin Tara drove out with us to the end of the traverse where we left our car and then we picked up our friends Tom and Keria at the Bow parking lot, but Tom forgot his helmet so he had to double back to their car at the Bow parking lot and grab it. The 93N highway was super icy that morning too so it felt like we evaded the most dangerous part of the day right after we got out of the car. The weather was windy and snowing, but we started at treeline so the low visibility wasn’t too much of a concern yet.


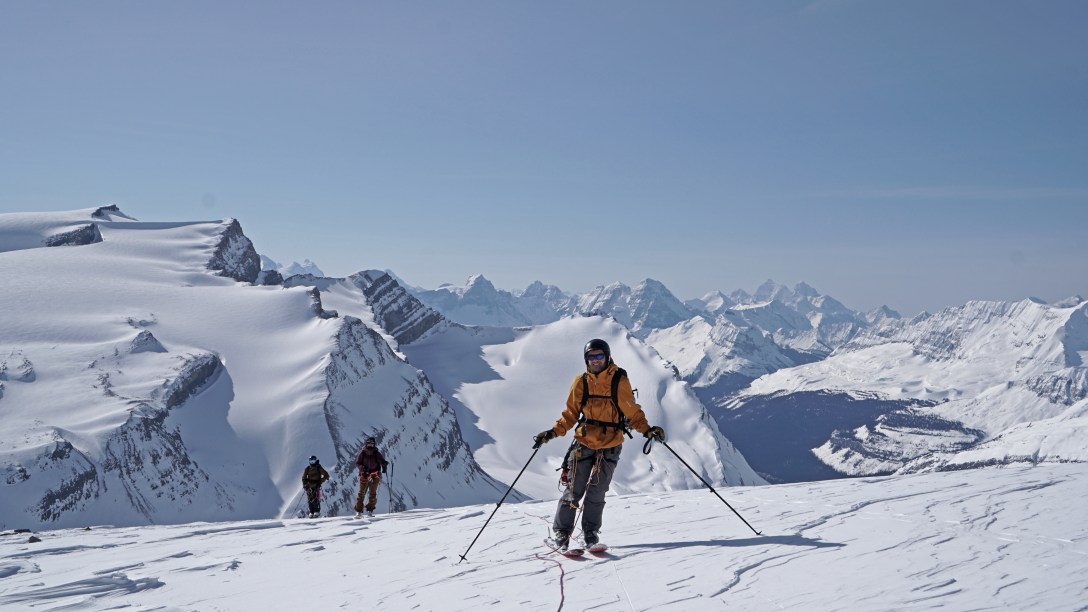
Day 2 – Peaks and Famine
Peyto to Bow via Mt. Rhondda and Mt. Gordon
Up: 1,144 m; Down: 1,165 m
Distance – 18.0 km
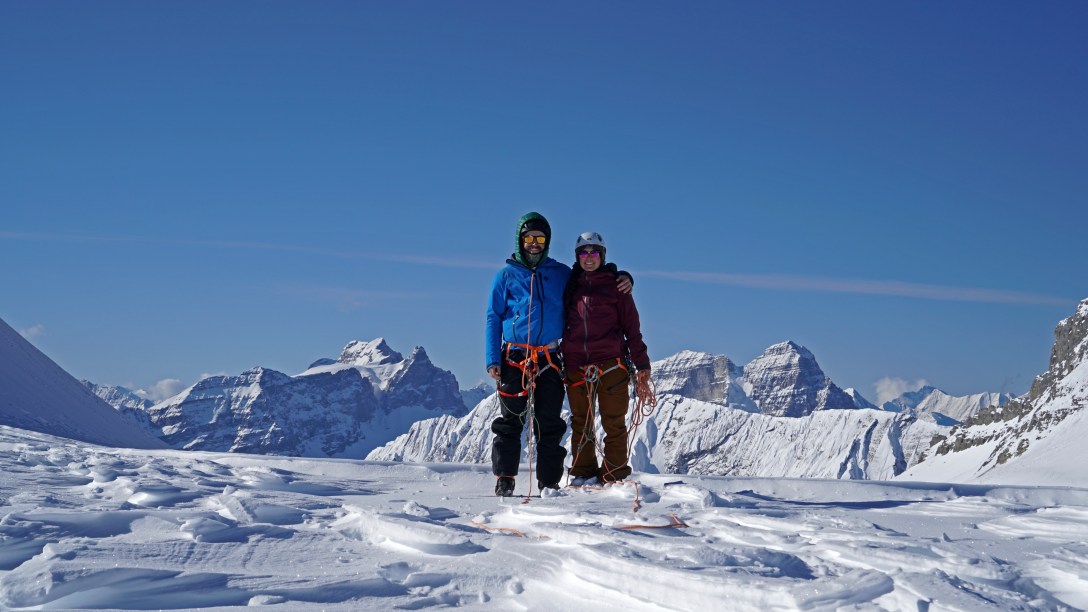
The second day presented its own set of challenges that we were not expecting to have to overcome. We left Peyto hut around 5am and set off for our day with the objective of bagging at least one of the peaks on the way to Bow Hut. As we approached Mt. Rhondda we decided we would go up the SE ridge of and leave a cache of our heavier supplies at the bottom. We skinned up, dug a pit with no failure, and proceeded to skin to the top and ski back down the beautiful conditions to the cache. We then decided it was a good idea to make another cache and go for Mt. Gordon. This is where our decision making was NOT on point. We skinned up through face melting level 10 rays of sun and by the time we reached close to the top, we decided it was time to turn back and get to the hut. When we got back to our cache it turns out we had visitors in the form of ravens that helped themselves to a very large helping of our food rations for the rest of the trip. This was very disheartening and left us feeling pretty defeated.
A new game plan came into play as Tom and Keria were initially planning on bailing at Bow Hut anyways since they had other plans that week. They decided they would be the legends we know them to be and agreed to ski down to there car, drive to Canmore that same night, grab us more food, and ski it back up the very next next day.


Day 3 – Bow Hut – Chillin’
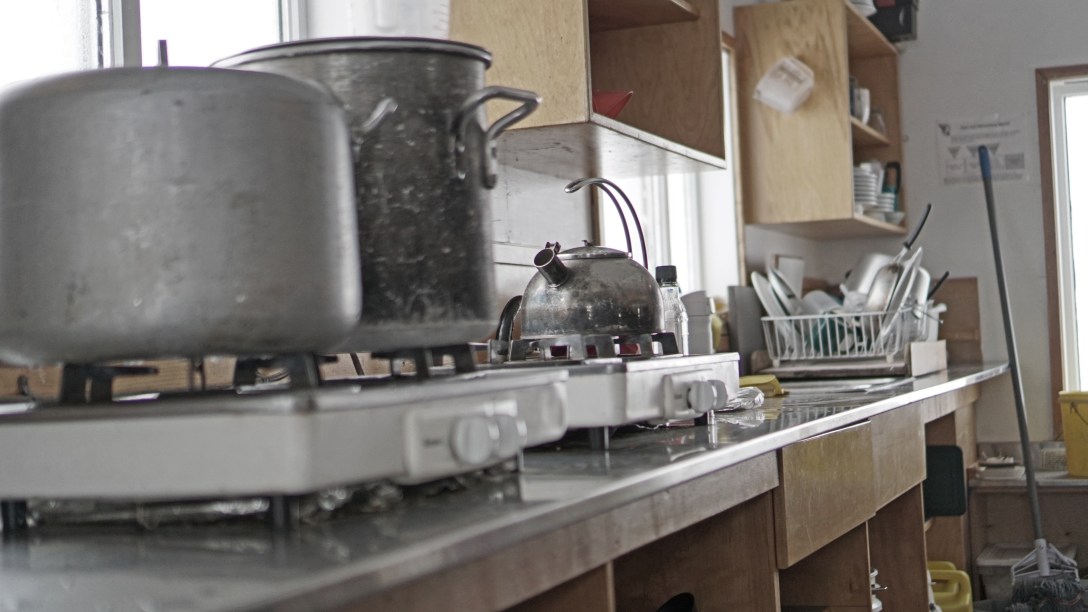
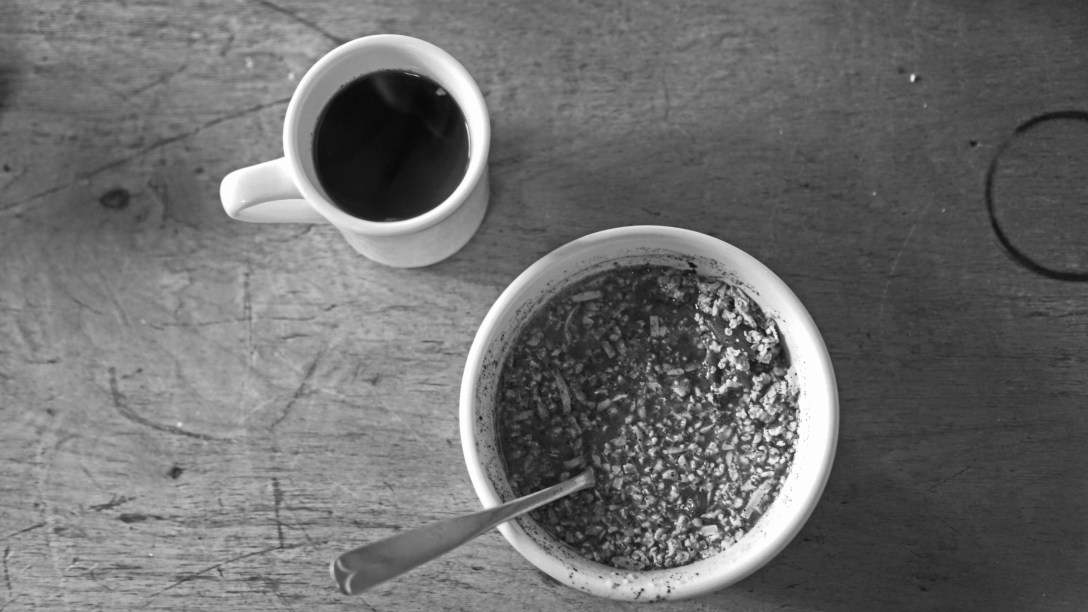
The previous nights banter about what had happened to our food supply with others at Bow Hut gave everyone a pretty good chuckle. Luckily, there was quite a collection of food that had been left behind at the hut that others had pointed out to us, and we actually ate pretty decent that night with some quality snacks for the days to come. While we waited the next day for Tom and Keira to head back up to the hut, Marisa was having pressure points from her boots so we did some DIY boot molding by the fire place, and mostly just hung out and chatted with whoever else was around. We considered going out for a ski, but decided we were actually pretty gassed from the day before and enjoyed the rest day at the hut for what it was.
A little later in the day, Tom and Keria popped up out of the valley bearing gifts! They stuck around for a little bit while we told everyone at the hut who they were, what they did, and how everyone should strive to have friends as good as them. Classic kiwi legends!


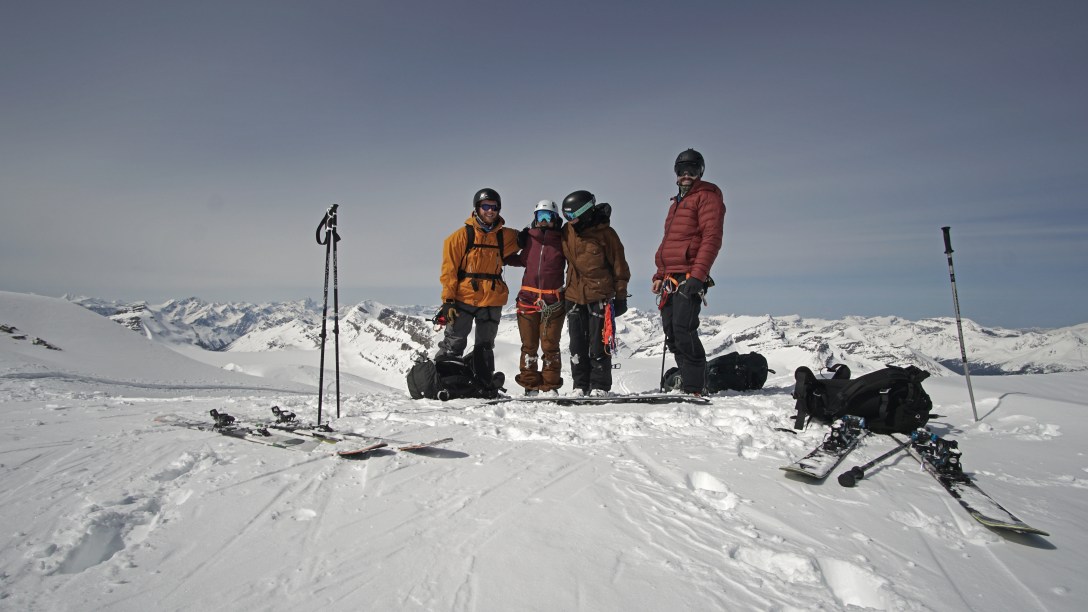
Day 4 – Bow Hut to Balfour Hut via Vulture Peak
Bow to Balfour Hut via St. Nic and Vulture Peak
Up: 670 m; Down: 705 m
Distance – 10.2 km
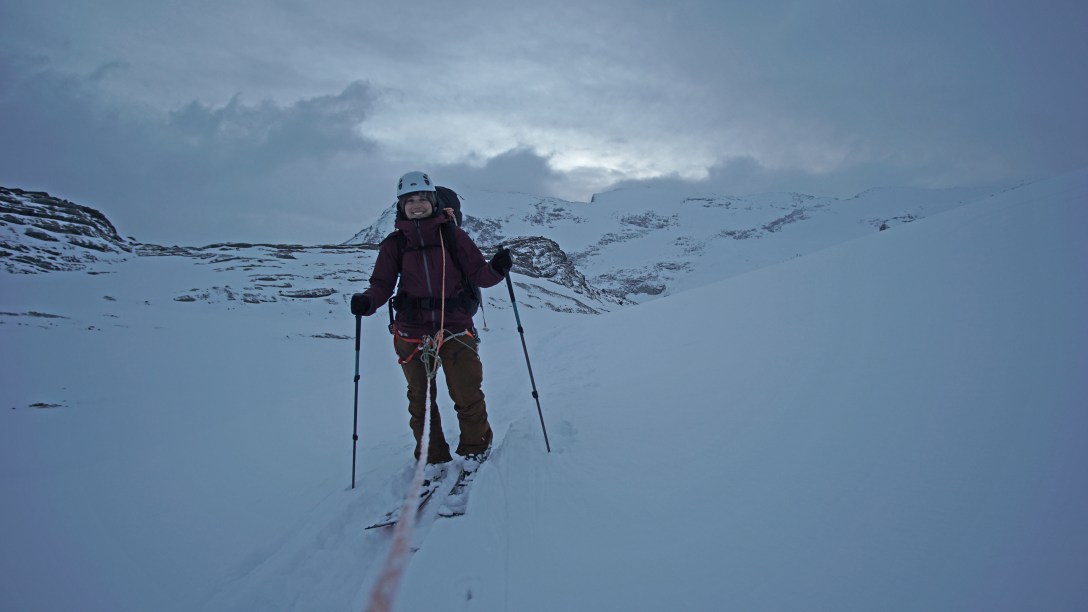
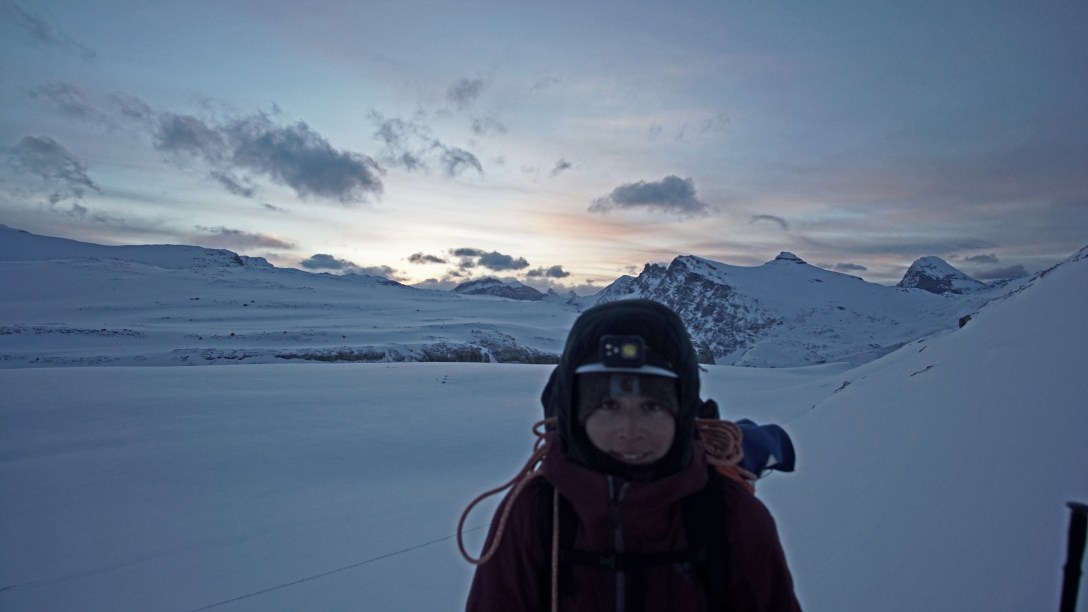
Overnight it dumped about 20 cm of fresh beautiful powder and the forecast was meant to be cloudy and snowing all day. We were the first ones up, and since there is a separate quarters from where you sleep, we opted to pack-up our gear in there before heading out with headlamps on.
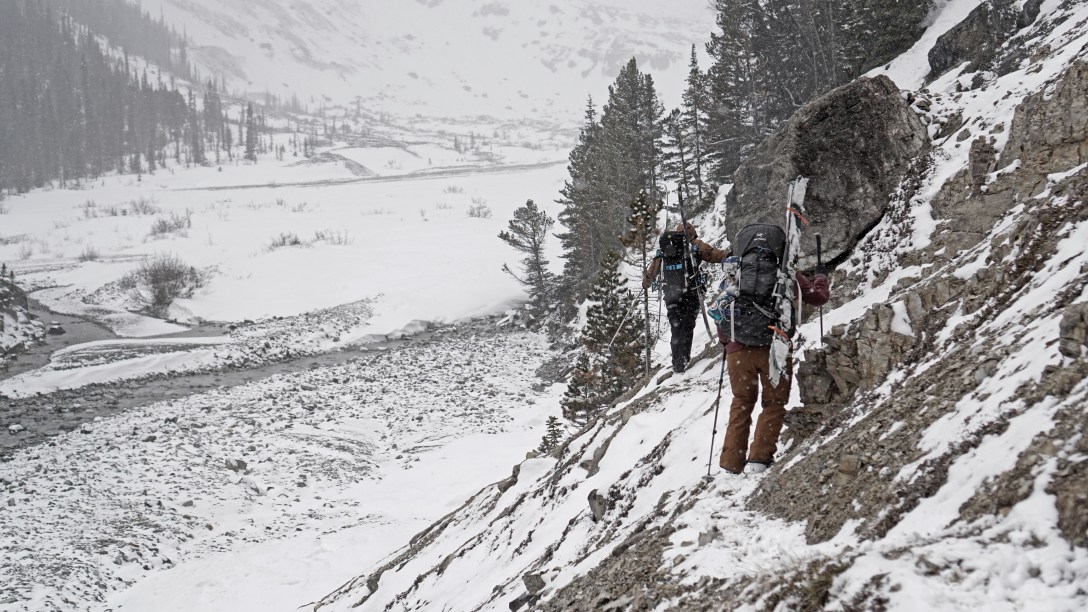
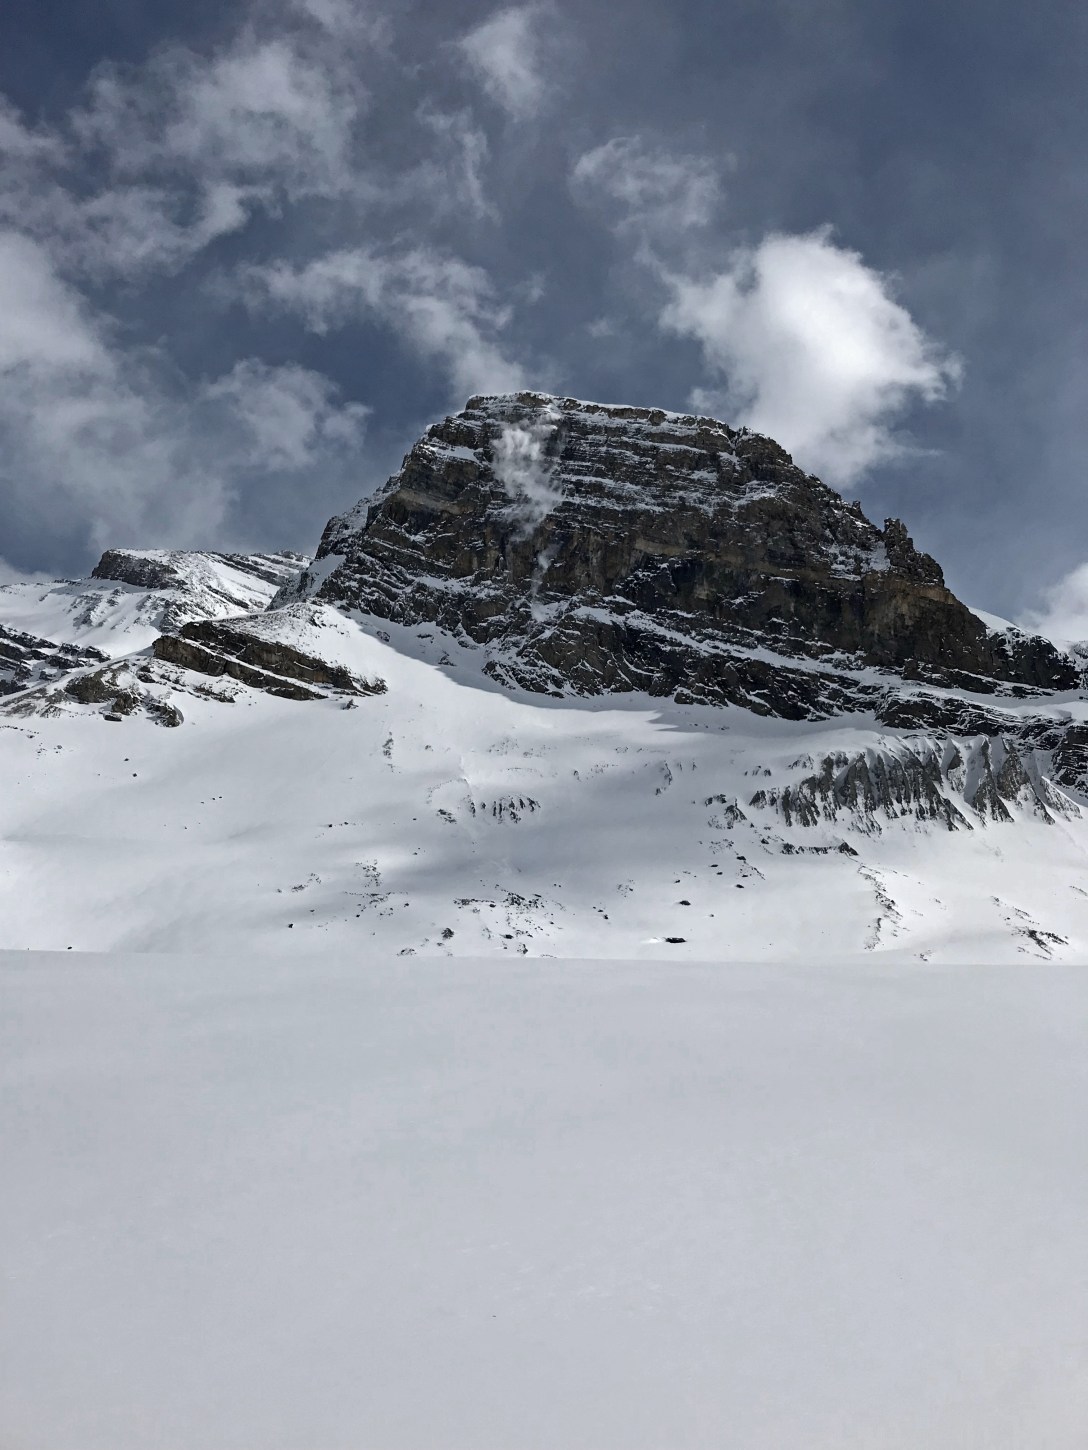
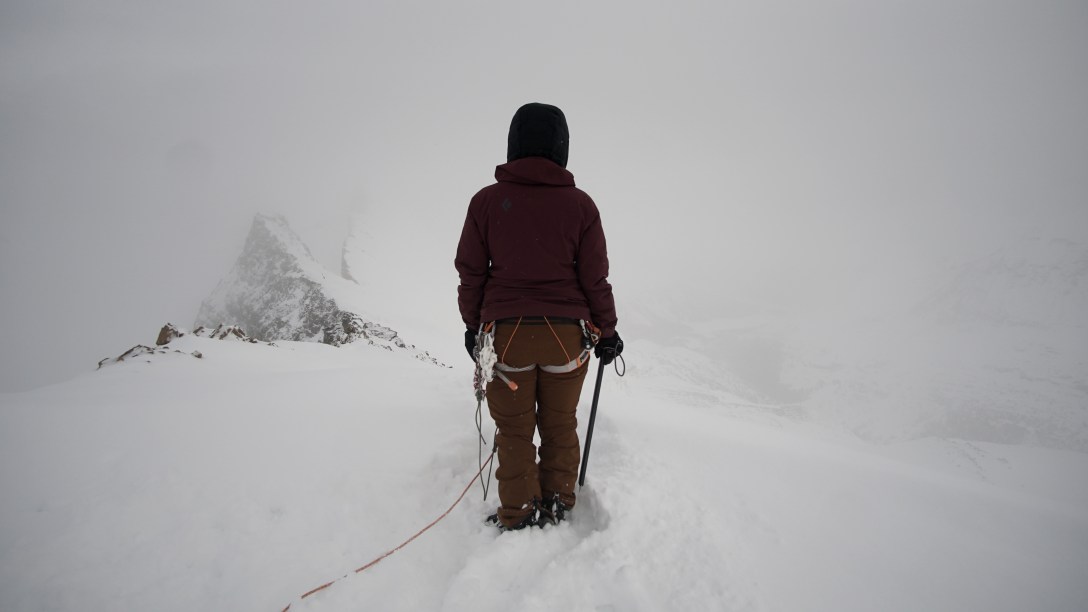
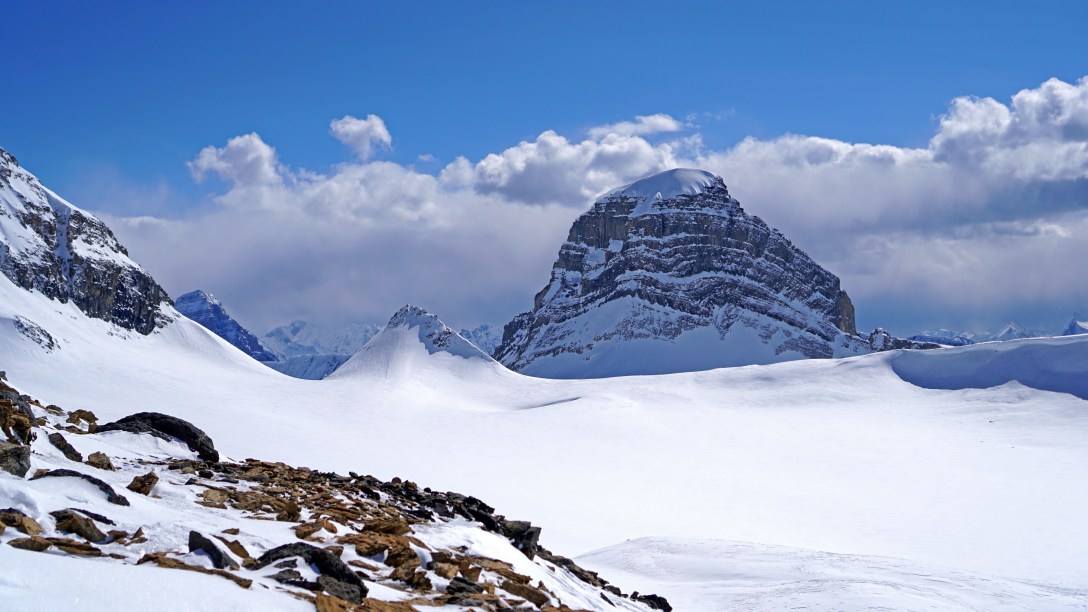
We broke trail out of the hut up to the col between St. Nic and Mt. Olive. The weather was actually pretty clear to start and quiet nice up to this first point. It was intermittently cloud and clear, so we decided to put some boot crampons on and head part way up St. Nic. From there we decided to traverse over to Vulture Peak. The weather was in and out on the way there, but by the time we reached the top we were completely socked in. It was like skiing in a ping pong ball down the glacier to Balfour Hut.


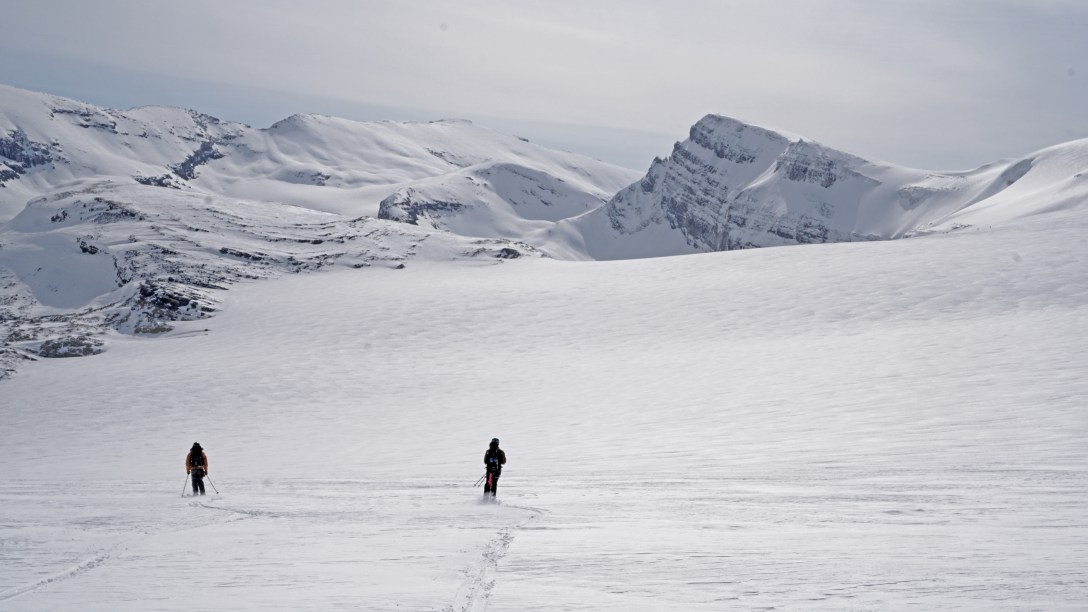
Day 5 – Balfour to Scott Duncan Hut
Balfour to Scott Duncan Hut
Up: 160 m; Down: 1240 m
Distance – 14.1 km
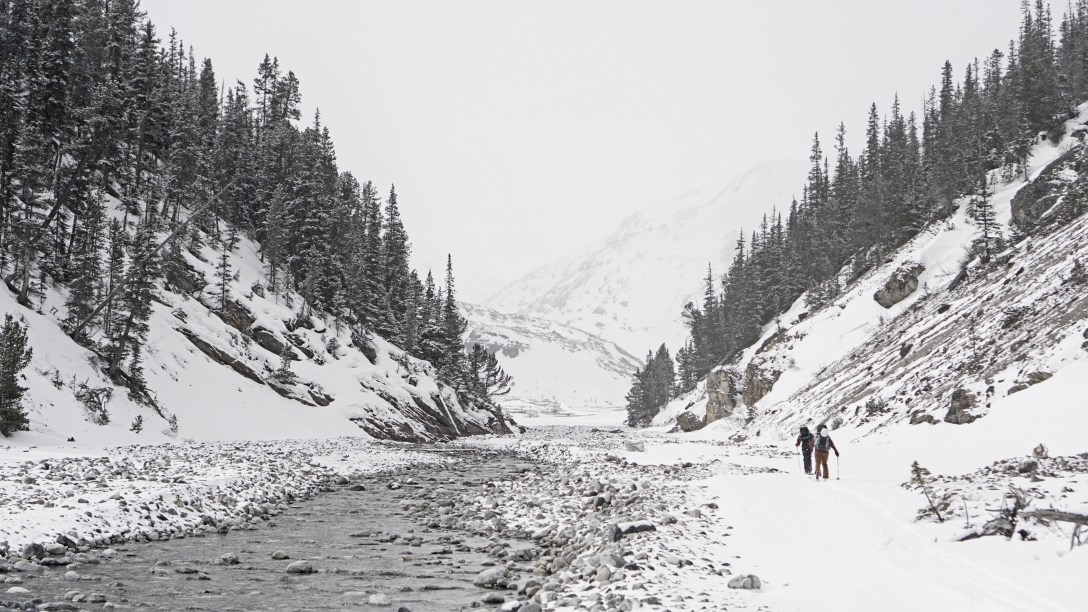
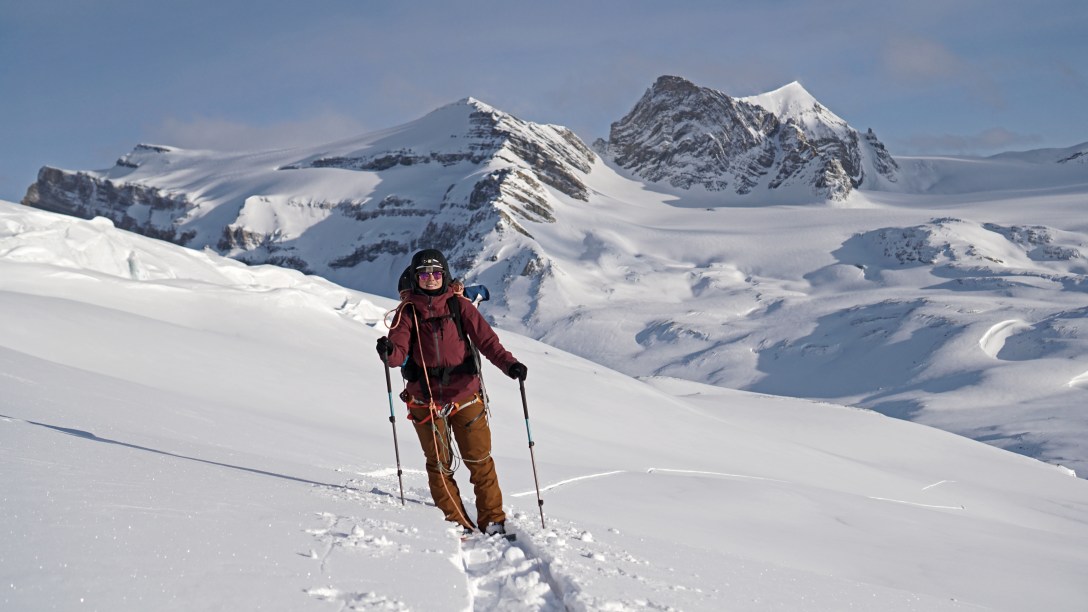
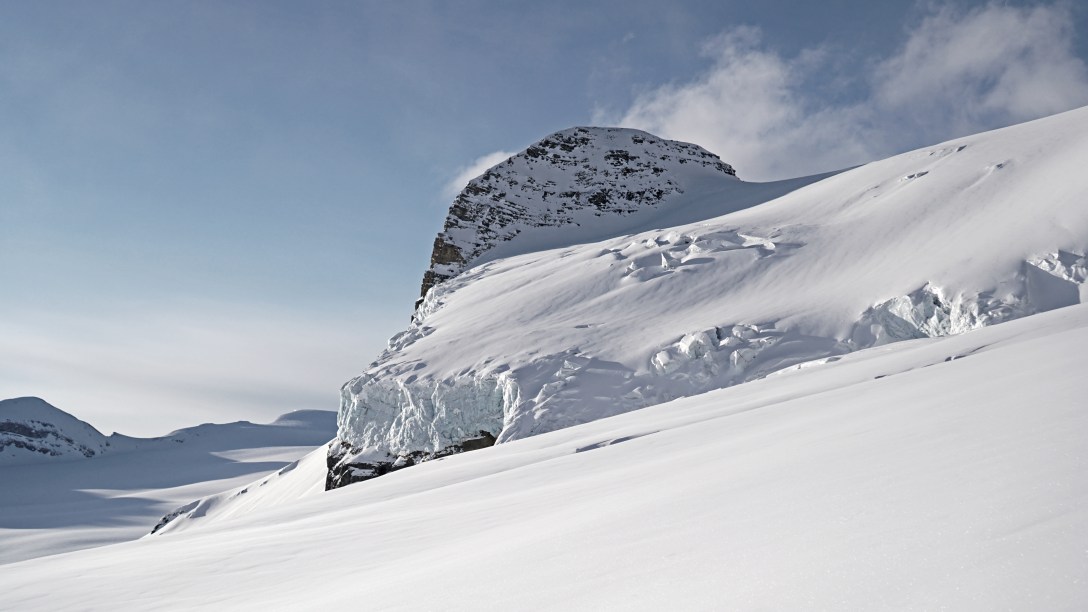
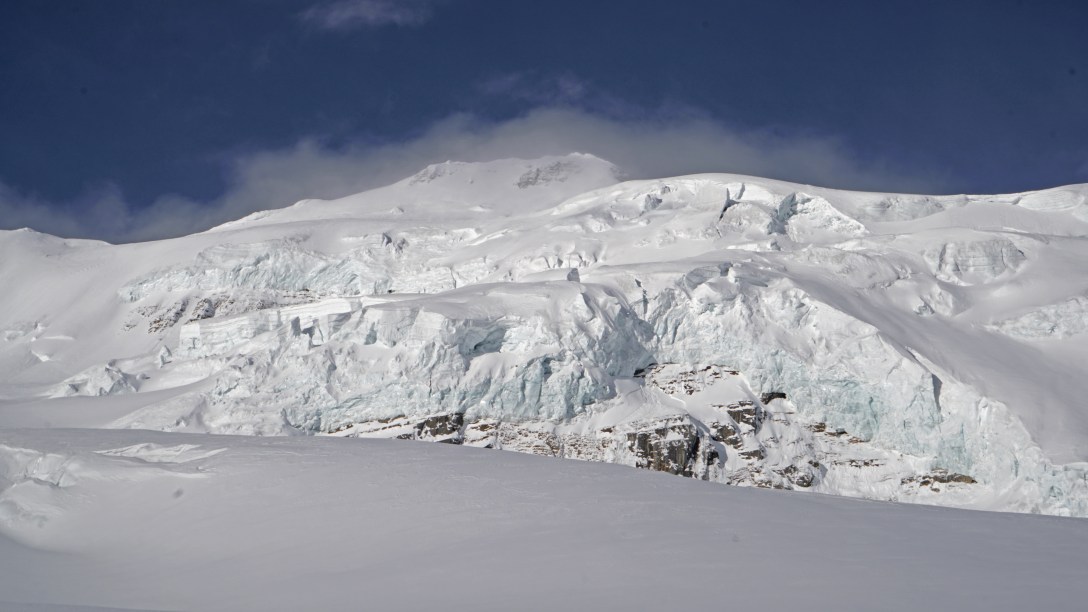
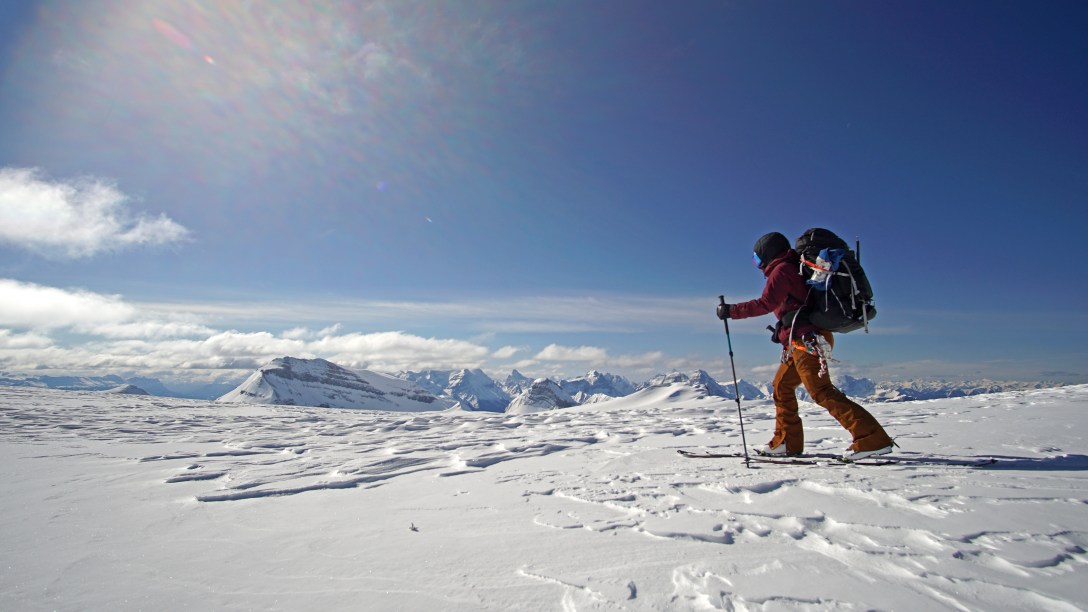
Besides the crux of the ravens, this part of the traverse through the crevasse filled Waputik Icefield up to the col was the part I wanted to have clear and stable weather for so we could safely navigate the hazards. Once again, we set off in the dark with headlamps on and by the time we reached the broken part of the glacier the sun was rising and it was looking to be an amazing day to go for it. With fresh snow from the previous day, we were breaking trail and route finding up to the col. It was pretty filled in as we were measuring around 300 cm of snow in most places, and mitigating around crevasses wasn’t too bad, but I wouldn’t of wanted to do it in a whiteout like the day previous. From the Balfour high col it was completely wind scoured down to the Scott Duncan Hut, so after breaking trail through 20-30 cm of fresh powder, there wasn’t much decent snow on the other side for our descent. It wasn’t very steep, but I still felt pretty ripped off.
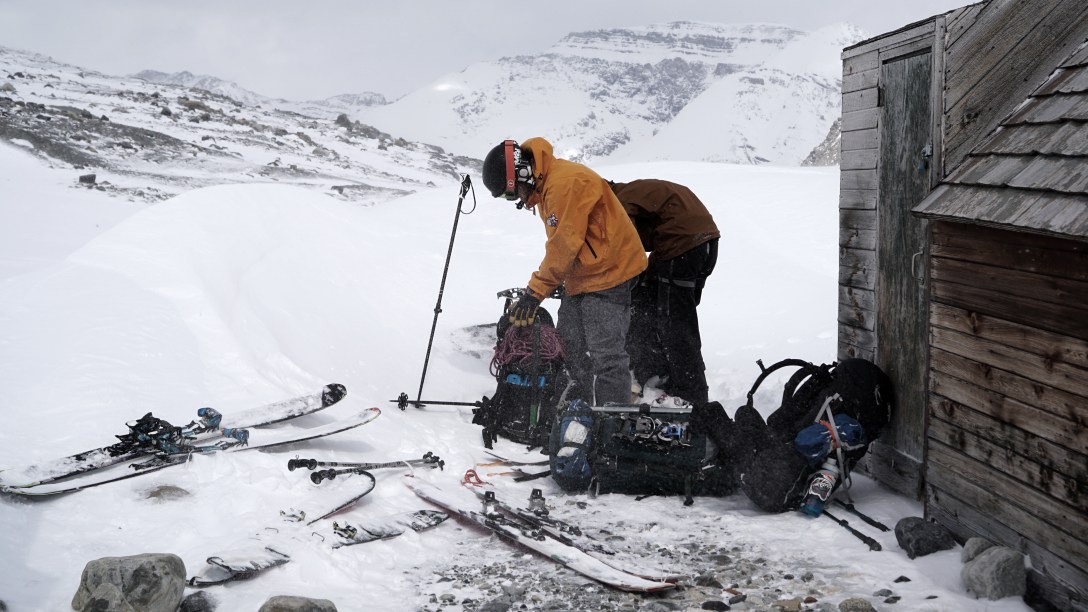
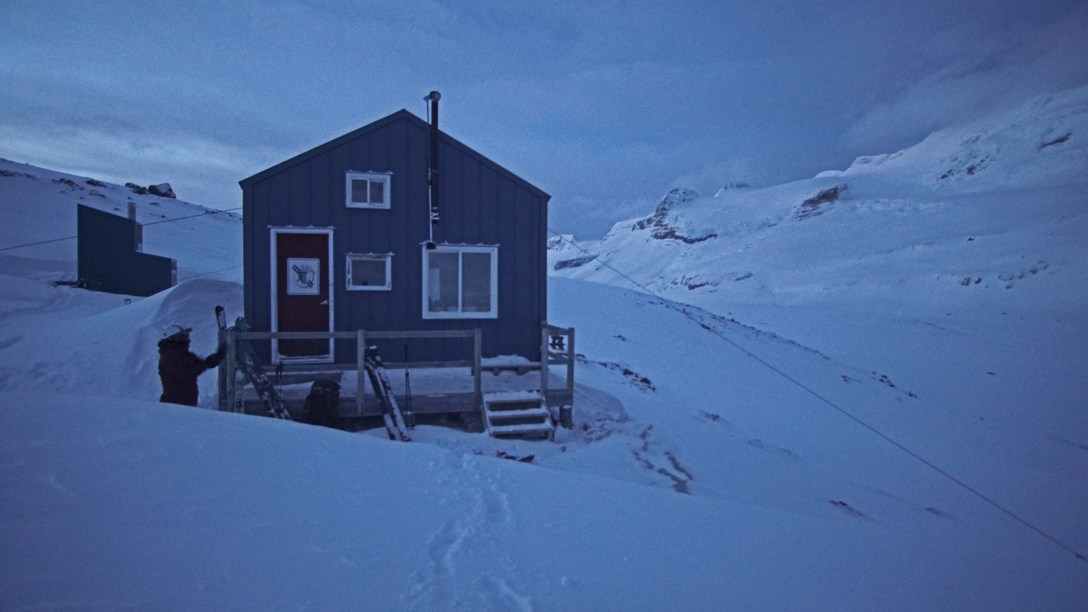
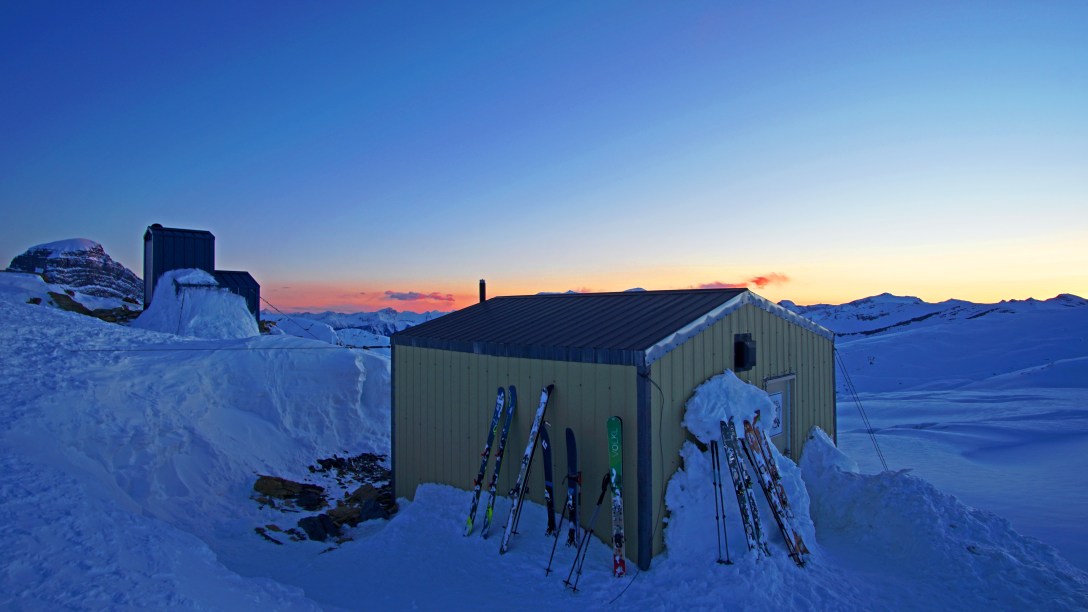
When we arrived at Scott Duncan Hut, the vent on the front side of the hut was broken open and a significant amount of snow had blown inside that we had to shovel out. We got there pretty early and opted to just hang out instead of going out to ski anything in the area. The afternoon sun was so intense and we knew the slog out the following day was going to be a long one.


Day 6 – Scott Duncan to the Car
Another early start to get going. Had a solid freeze overnight so there was some pretty variable conditions on the ski down to the car. Some ice, some corn and some major avalanche debris. It was bloody warm on the way down, and by the time we finished the slog to the car we felt pretty accomplished. First self-guided multi-day traverse through glaciated terrain complete!


Posted by Mitch
