

Last September we decided it was about time after living on and off in a van for 4 years to make the jump to a home that didn’t have wheels. Since we didn’t have a place for so long, we had acquired zero furniture or pretty much anything besides snowboards and mountain bikes. I’m not sure where I got the inspiration from, but I decided I would try my hand at crafting my own furniture out of pallet material. I definitely did not fully understand how much work this would be before I started, but once I began I didn’t want to quit!
Some PPE to consider before starting this project includes:
- Steel Toe Boots
- Gloves
- Eye protection
- Ear Plugs
- Face mask
Step 1 – Finding Pallets
This step is one of the easier ones, but once you have completed it you are also stuck with a bunch of pallets. So, you’re pretty much committed as soon as you begin! I went on marketplace and kijiji and just looked for places that wanted people to take their pallets. I found a couple, but my go to place has been Dominoes Pizza in Whitehorse. They always have a great selection and seem to restock their pallets frequently. I read some information about how some pallets can be chemically treated, soaked in oil, or prone to having E coli growing on them. You’re looking to avoid ones with a wheat stock icon, the letters “HT” or “MB”.

Step 2 – Dismantling Pallets
Prepare to sweat, bleed, and swear getting your pallets apart. I typically needed more pallets than I would anticipate, so dismantle more than you think you’ll need. I had a couple different methods for breaking up pallets. The first was using a hammer and crow bar and attempt to pry every board up one nail at a time. Sometimes the boards just pop out and you feel like a superhero. Other times, no matter what you try the nails won’t budge and you end up cracking good boards, and this is where you might insert some of that swearing I mentioned before. The second method is to use a reciprocating saw to cut the two ends of the boards as close to the edge as possible, and then pry just the center nails out. Either way if your not angry before you start, there will be points when you want to give-up, but just take it out on the pallet. That’s what it’s there for.
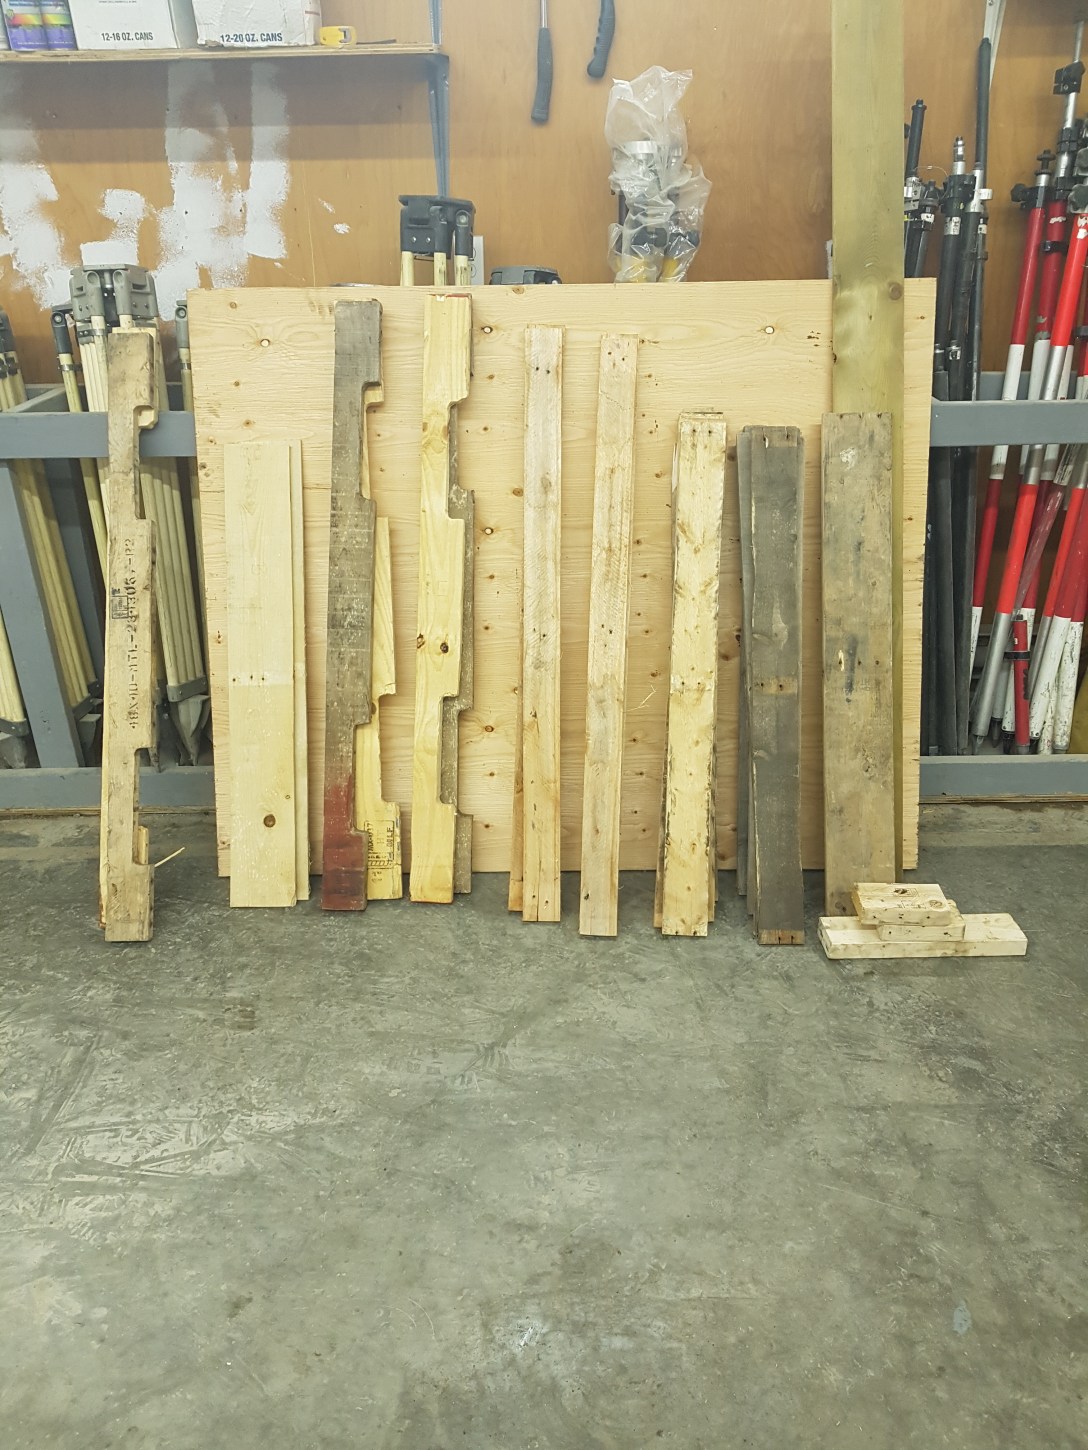
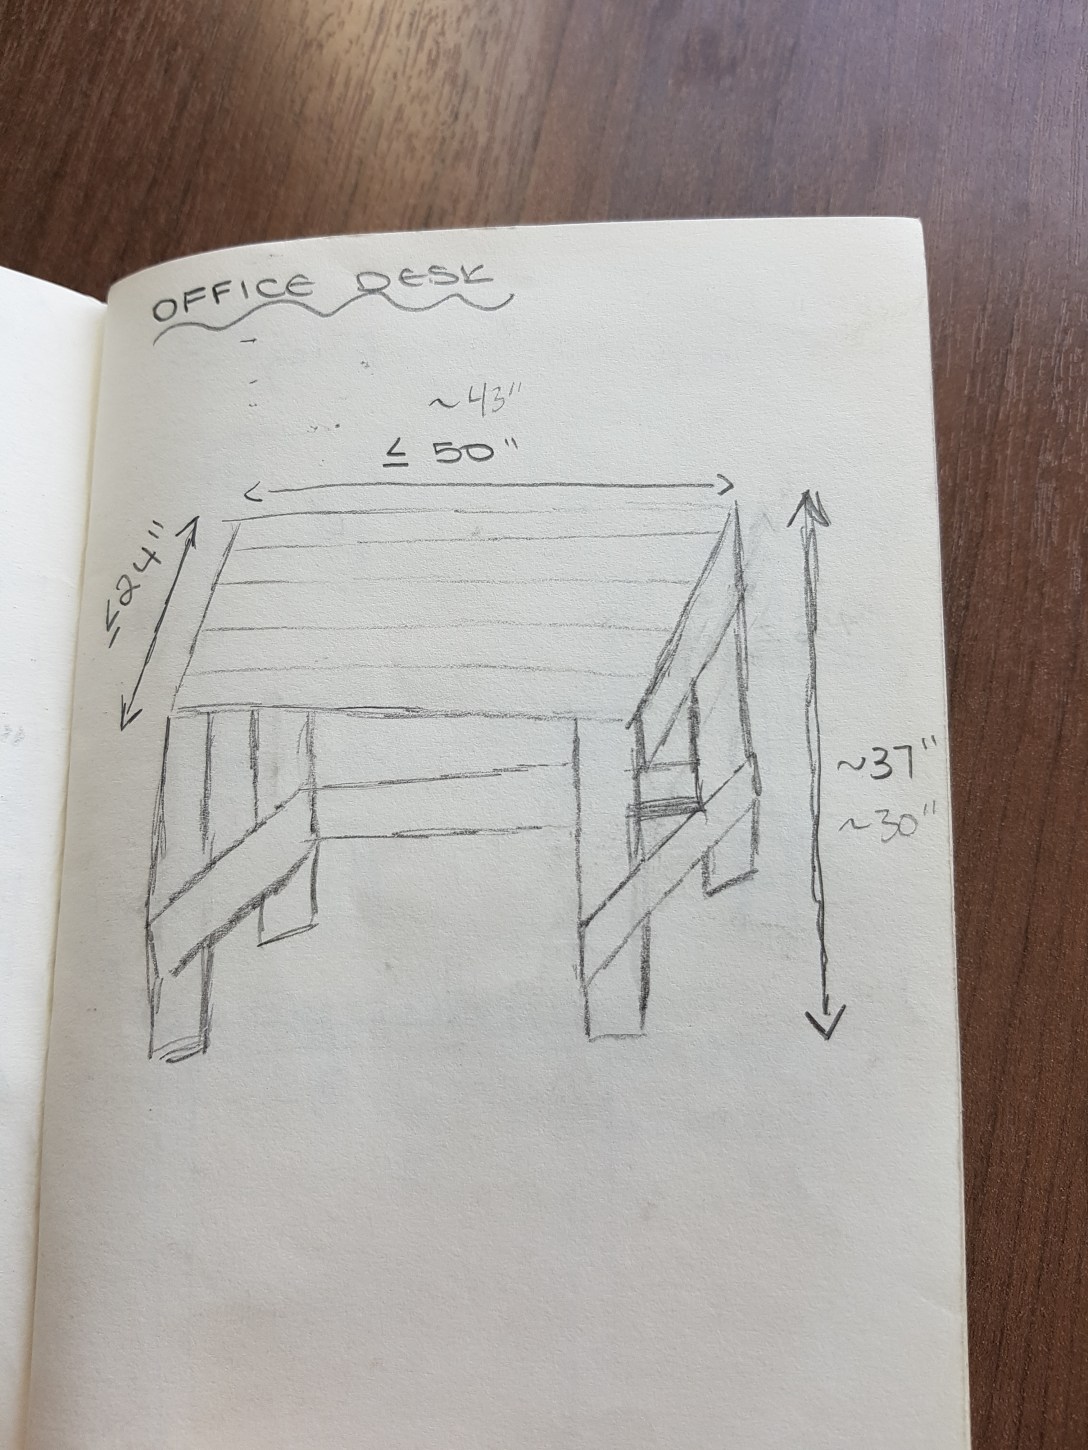
Step 3 – Sort wood and Design your furniture
You obviously have an idea of what you want to build before you start and maybe you looked up a few designs, but I find there’s really no point of fully designing your furniture until you’ve stripped a sufficient number of pallets. You will get many different types and sizes of boards by the time you’re done. When I’m looking for boards I measure them based on how much is not cracked. Cracks near the end can be considered waste wood and are best to be taken off and not incorporated in the design.

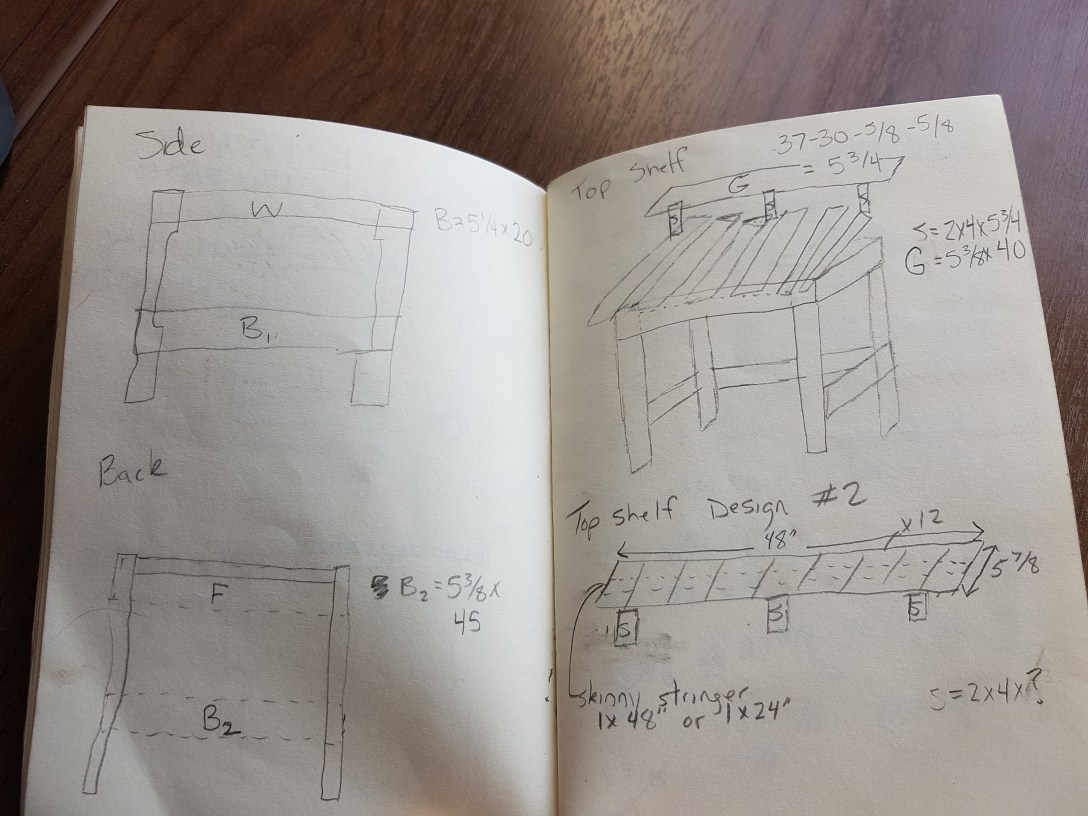
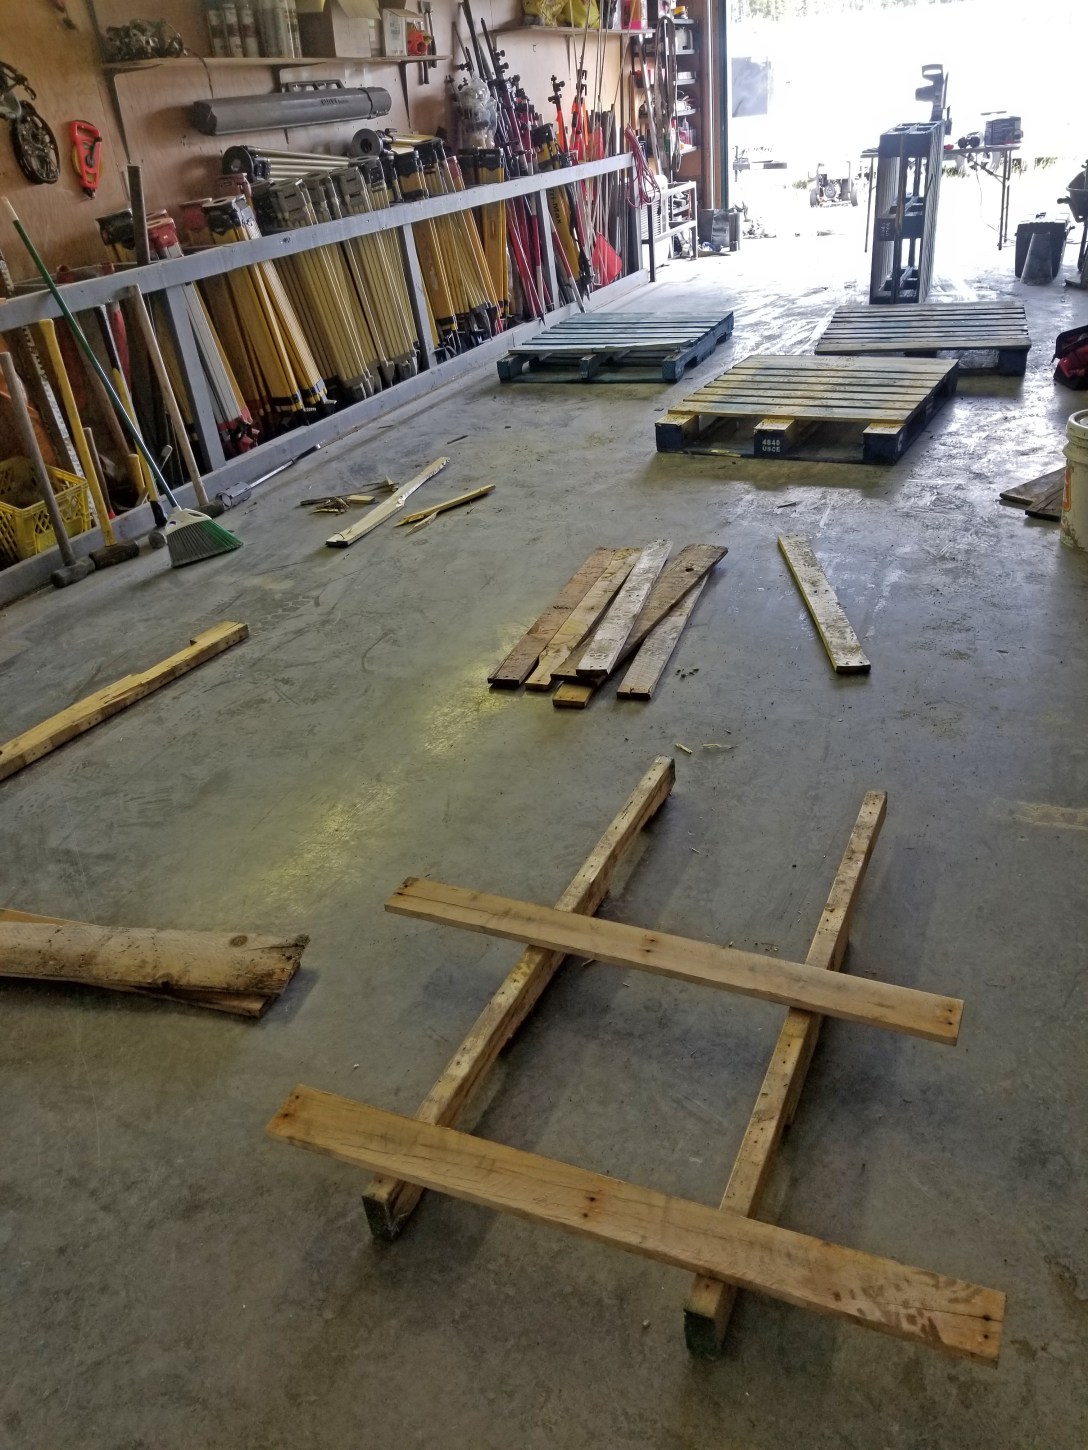
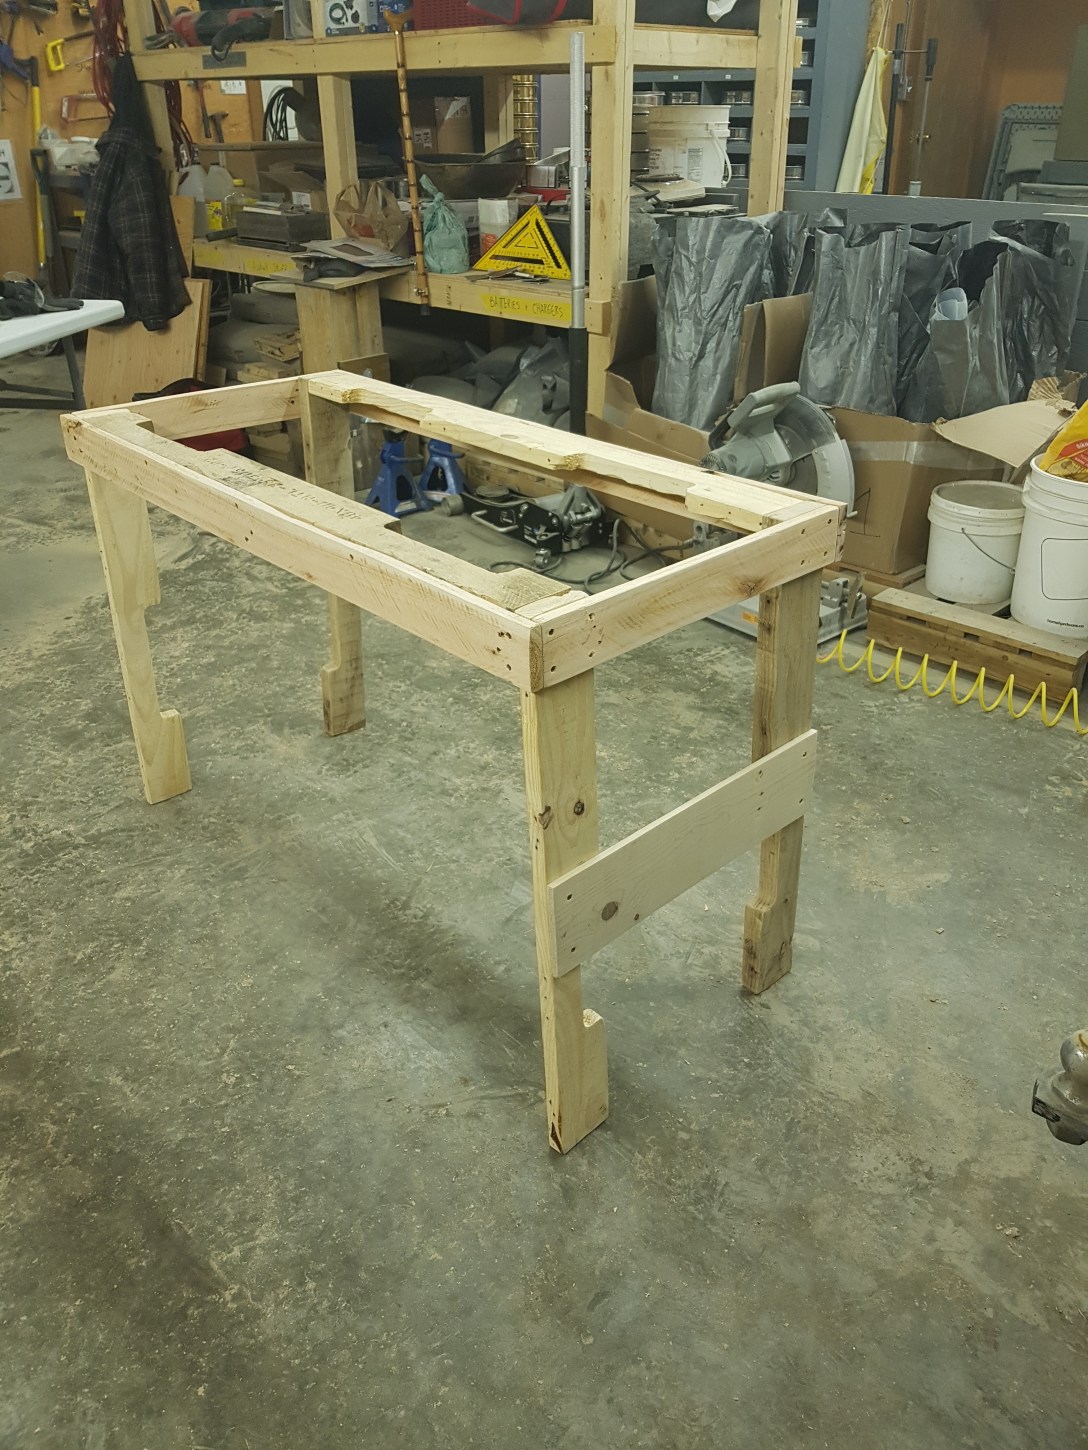
Step 4 – Cutting and Building
Once you’ve got a decent pile of wood and a workable design, it is time to start cutting and putting together your furniture. I would say cut and assemble as you go instead of cutting every single piece of wood and then assembling. You might notice you didn’t account for a certain measurement to make it more aesthetically pleasing. I usually find very few of the boards are straight and need a little convincing to be screwed in. Since the wood is dry and old, I also find it is very beneficial to minimize cracking by pre-drilling holes and then screwing together. I just use wood screws with a green or brown top so it matches the old age look we’re going for. I did try nails on one of my tables, but I just didn’t love how they held (however, it definitely looks way better). If you want to use wood glue and nails that is also a valid option. Maybe if I had an air nailer I would have chosen that option for more of my furniture.
Take your time and think out cuts before making them. The last thing you want is to have to go back to step 2 to get more material. On that same token, it isn’t terrible to have an extra pallet or two laying around that you can strip a board or two off if you mess up or extra wood required you didn’t account for.


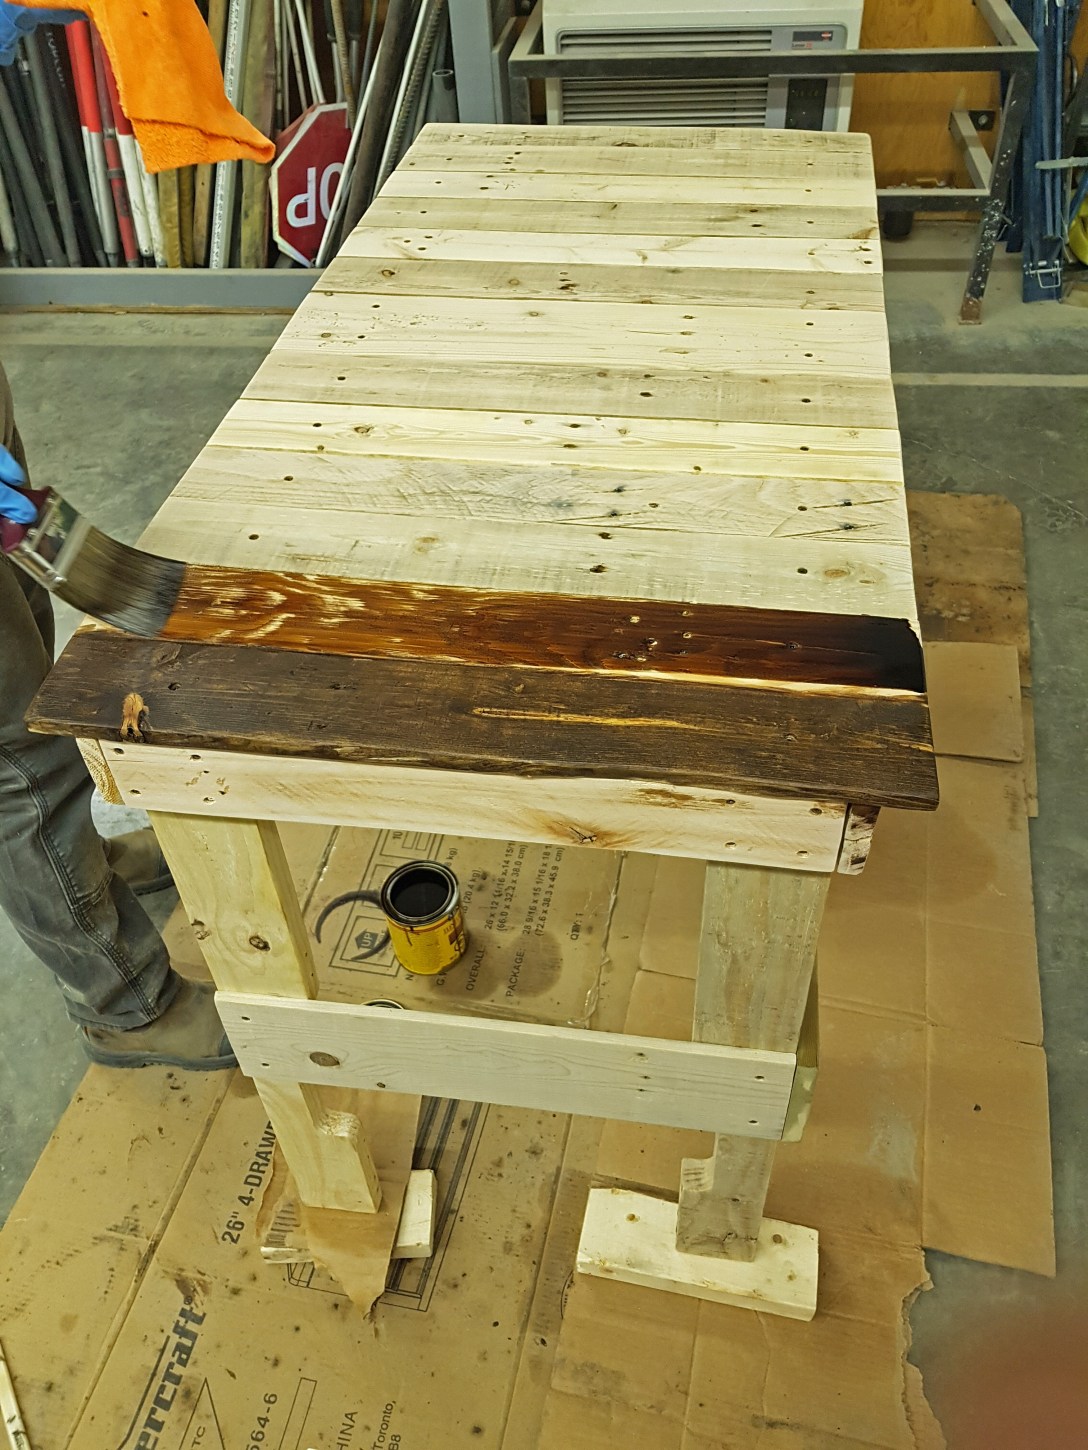
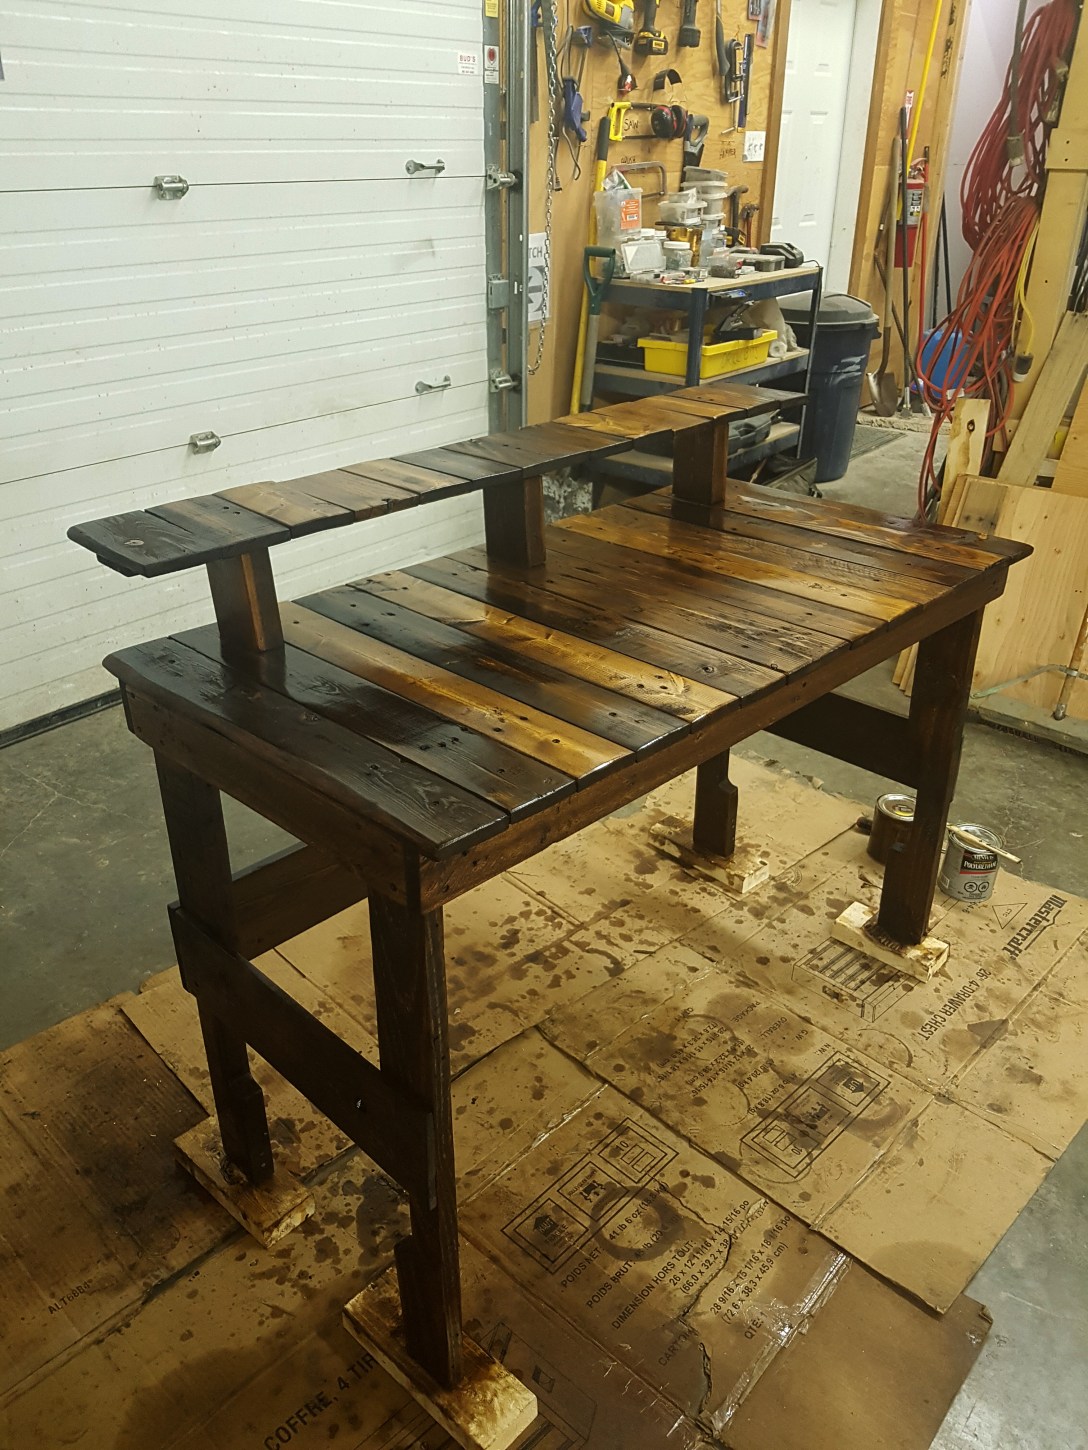
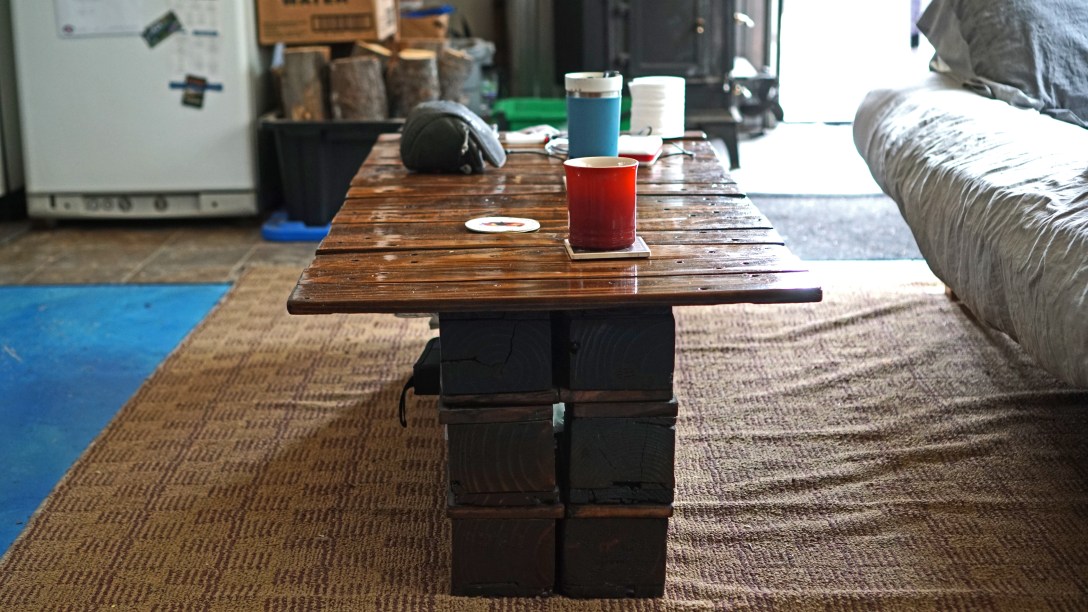
Step 5 – Sanding, Staining, and Clear Coat
Now that you have created your masterpiece(s) it is time to make them shine so they will be admired by others, and can be easily cleaned when you spill your beverage of choice all over it. We mostly used a palm sander with circular disks to sand the furniture. We would start with a 60 grit then go to a 150 before applying any stain. I usually give more care to surfaces that will be seen and used more. It’s not necessary to stain, but I did and two coats of stain seemed to do the trick for most pieces, and making sure to let it fully dry between coats. For times and instructions, see back of can or just touch and see if it’s sticky still. Once you’ve got the stain on it or if you decided to skip the stain, clear coat is like the gortex for your furniture. It will shed water, wine, beer, and whatever else you consume and spill on it. I would typically apply 2 coats, and then once the 2nd coat had completely dried I would lightly sand with 300 grit to get off all the burs and apply a 3rd coat to finish it off.


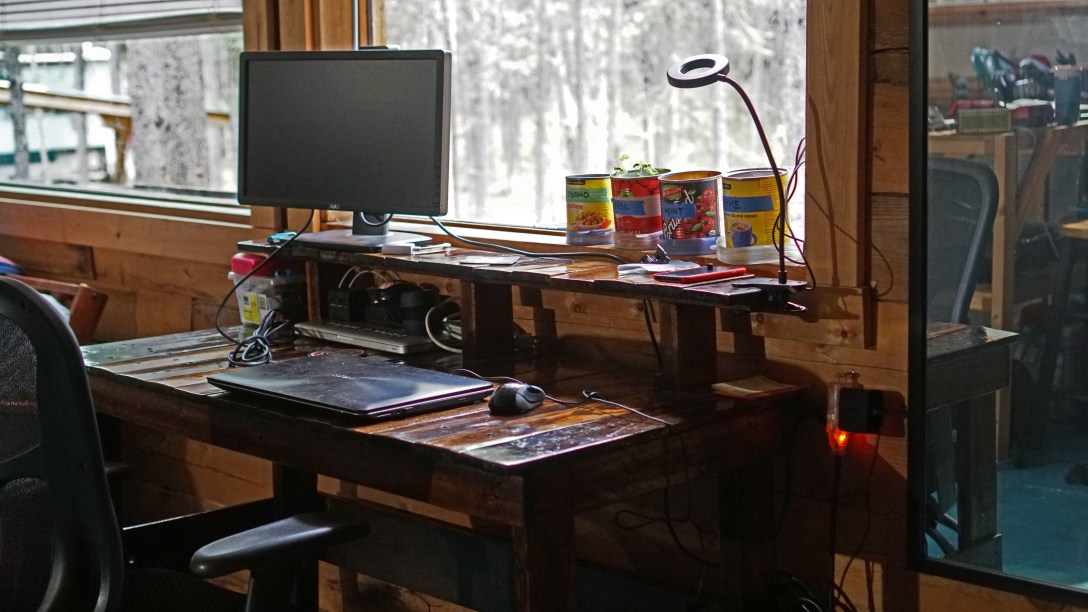
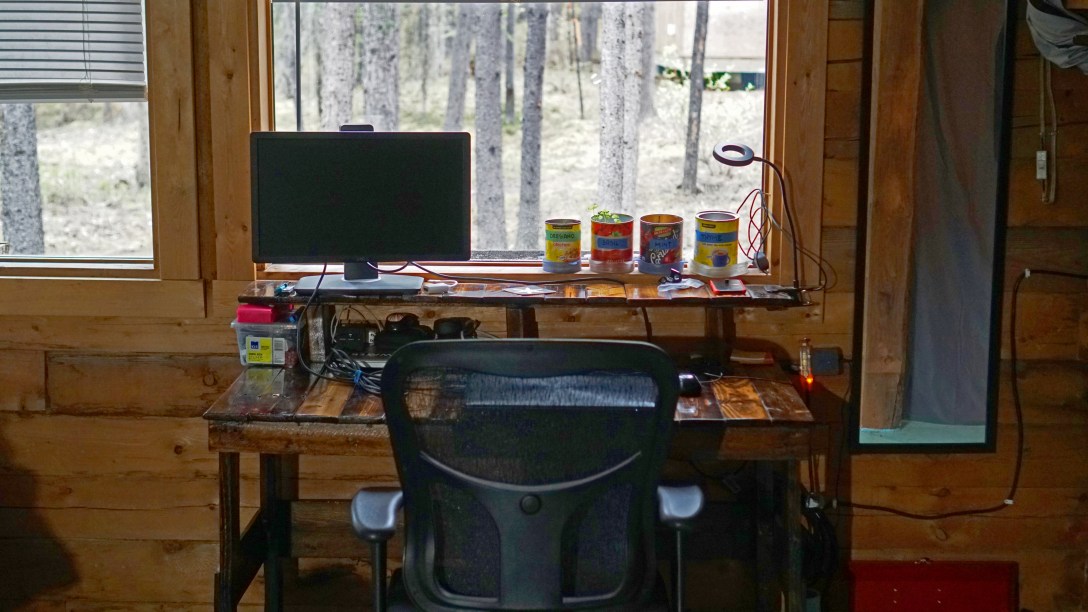
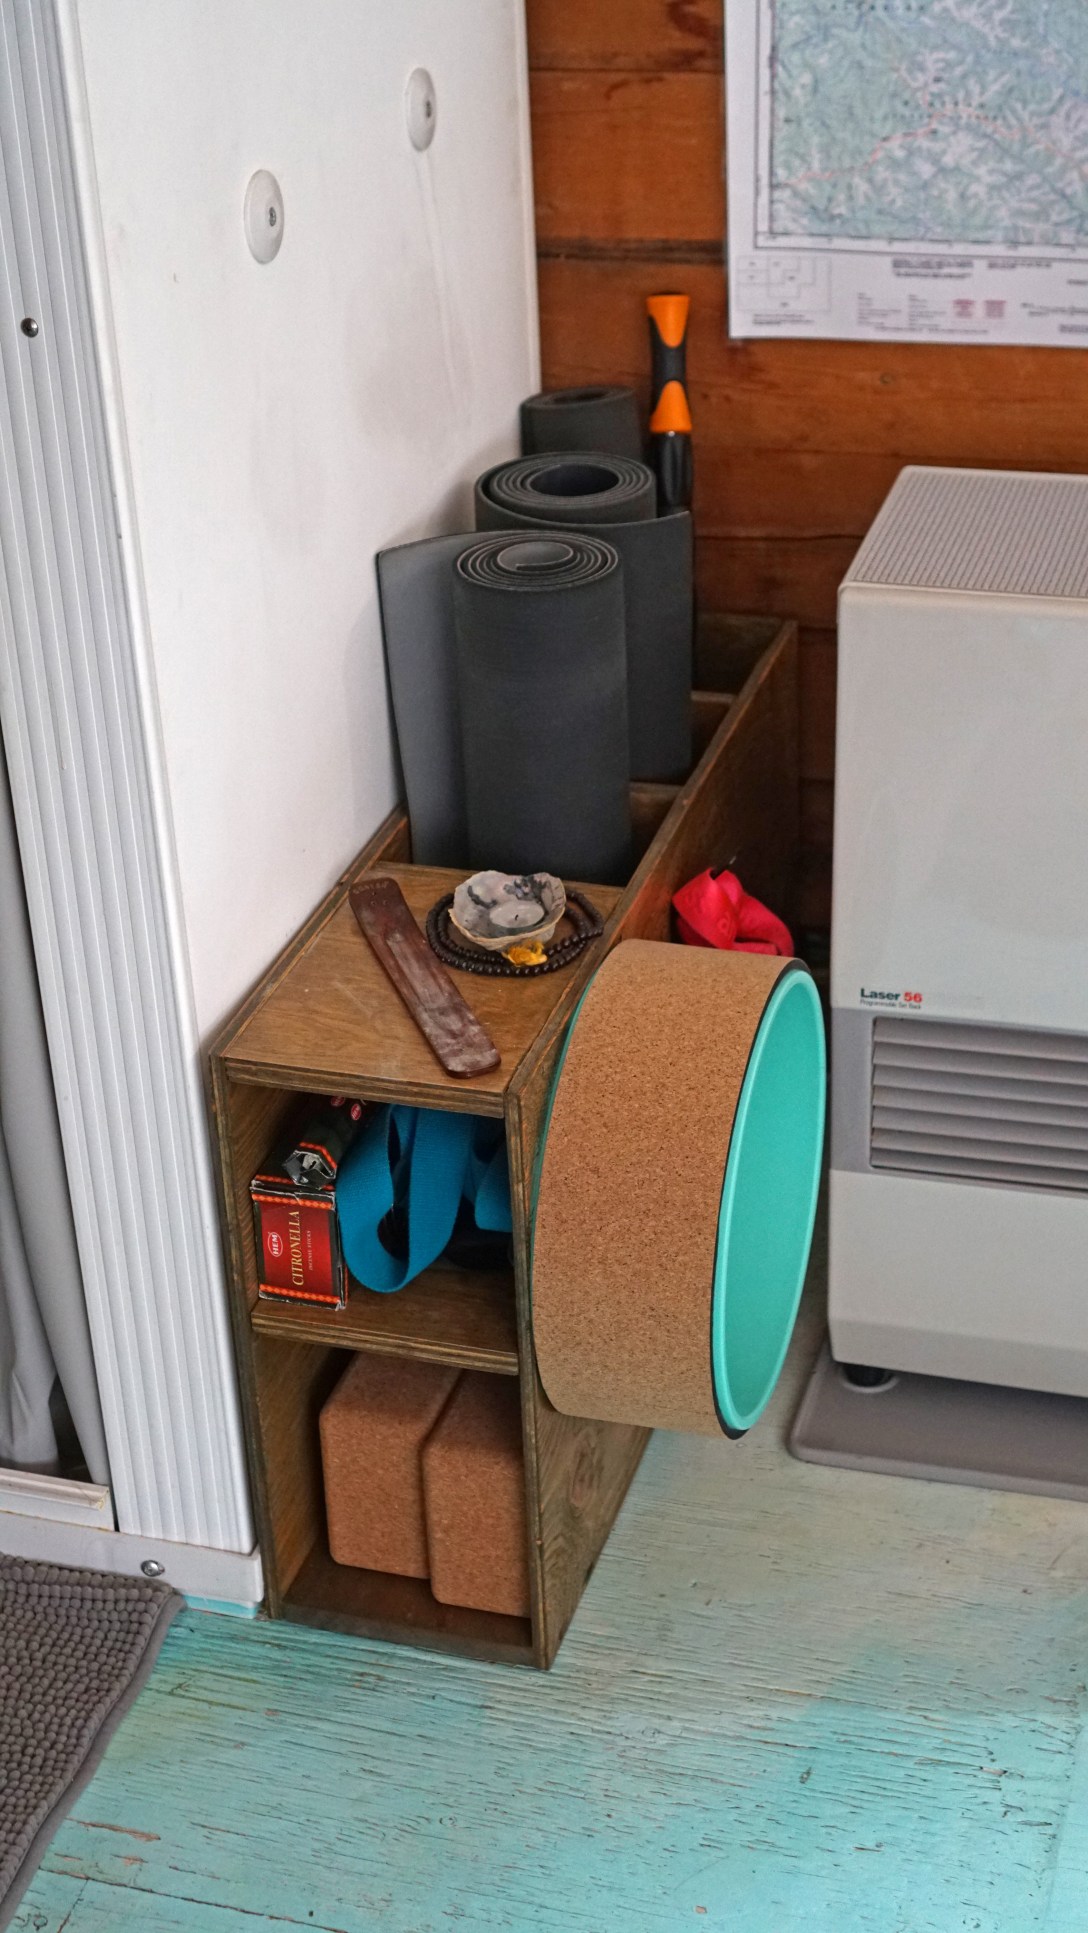
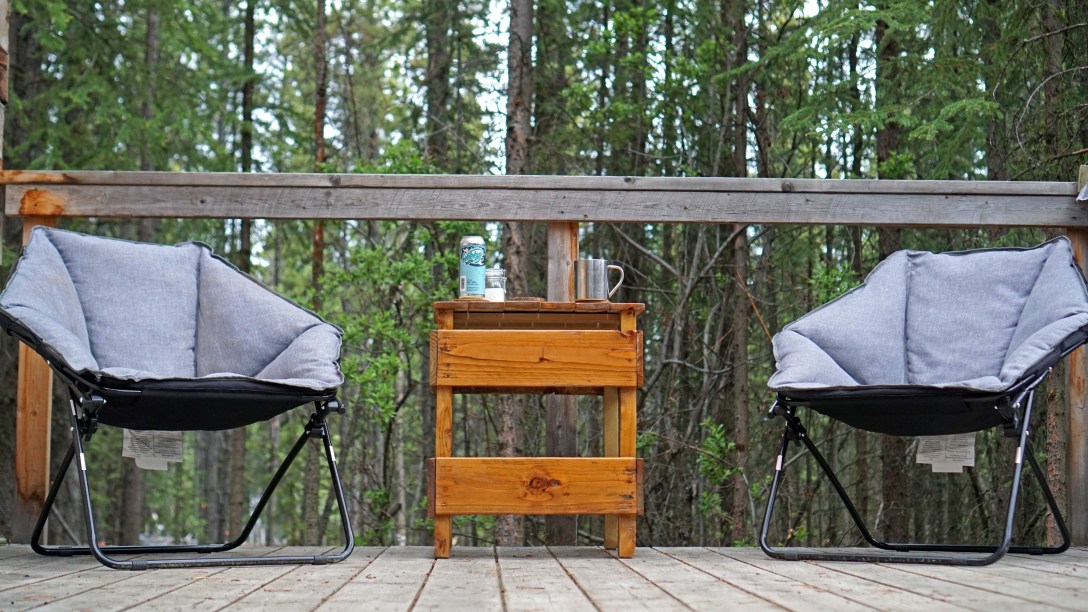
Step 6 – Using the furniture
Move the masterpieces into your home into the desired the positions and enjoy. Have a cold one. You earned it!


Posted by Mitch
