
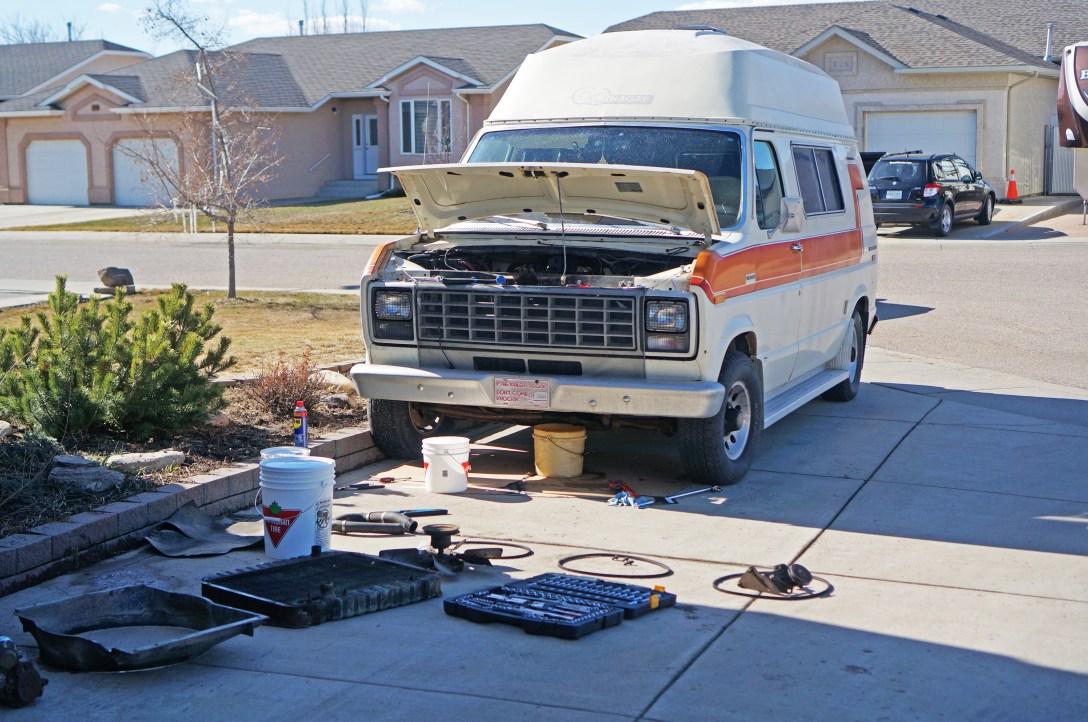
This past spring was a busy one tuning up Betsy to make her finally road trip worthy. When we drove her west last fall she had a fierce intake air leak that was not allowing her to idle in traffic or shut-off without running on. We also were having overheating issues last summer in the heat and this spring it was my mission to fix these all of these major issues. On top of this, the body rust was bothering us so we decided to dive into some body work.
Engine / Coolant System Repairs
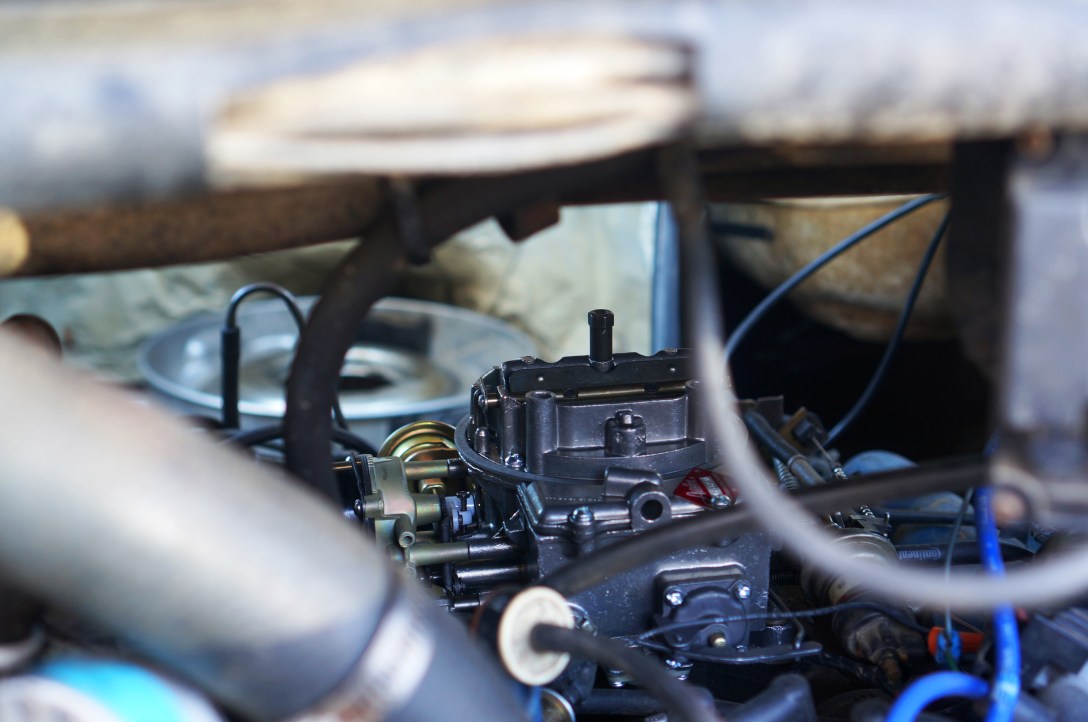
Carburetor Replacement
First off was to fix the intake air leak because it was a real pain to drive Betsy in this condition. Every since we ripped off the valve covers to unseize valves and pulled off the carb to rebuild it we were having a bad air leak. I had tried numerous times to trace the air leak whether it was in the manifold or from the base of the carb. I used WD-40 and brake cleaner to spray along all the seams in the intake air system to find whether there was an idle change, and time and time again I came up with nothing. Even though I had rebuilt the carb I was reading online parts of the carb can become warped or worn and cause air leaks this way. We splurged and bought a new rebuilt carb. Well wouldn’t you believe it, that was the answer!
Coolant System Rebuild
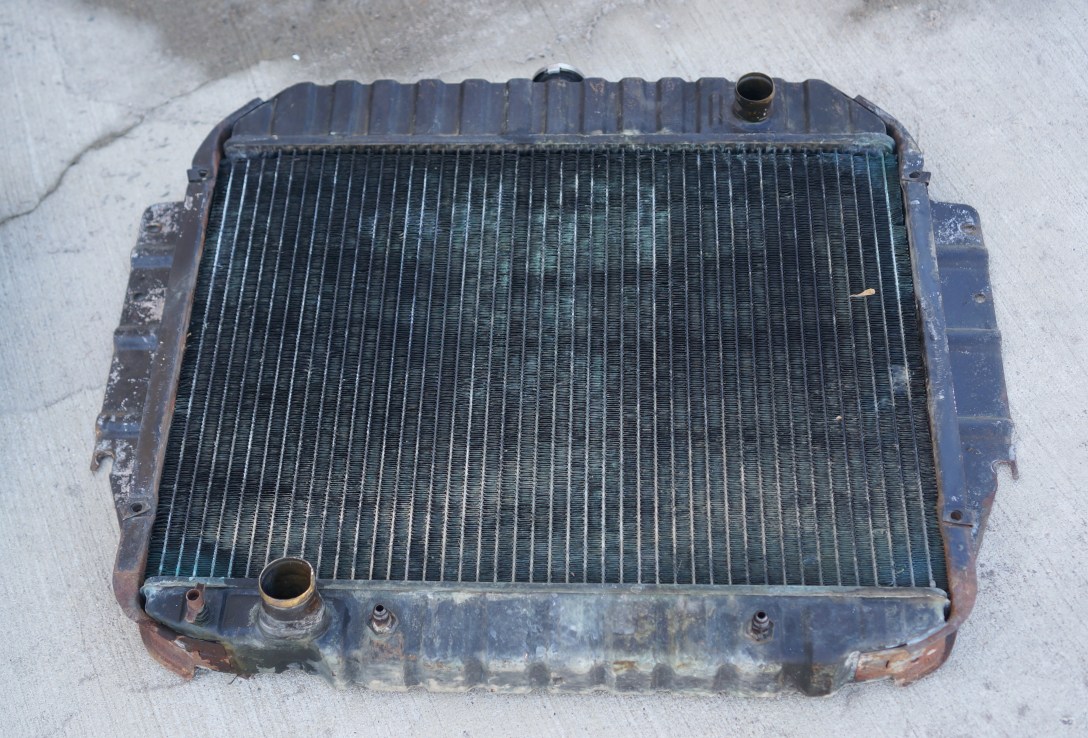
Next up was to dismantle and replace the coolant system. I had done the thermostat last summer, but that wasn’t the answer to fixing our overheating issue so I bought a water pump, a fan clutch motor, new heater hoses, new belts, and a thermostat sensor. I opted to clean the rad out since it didn’t look too worn and they are very pricey to replace.
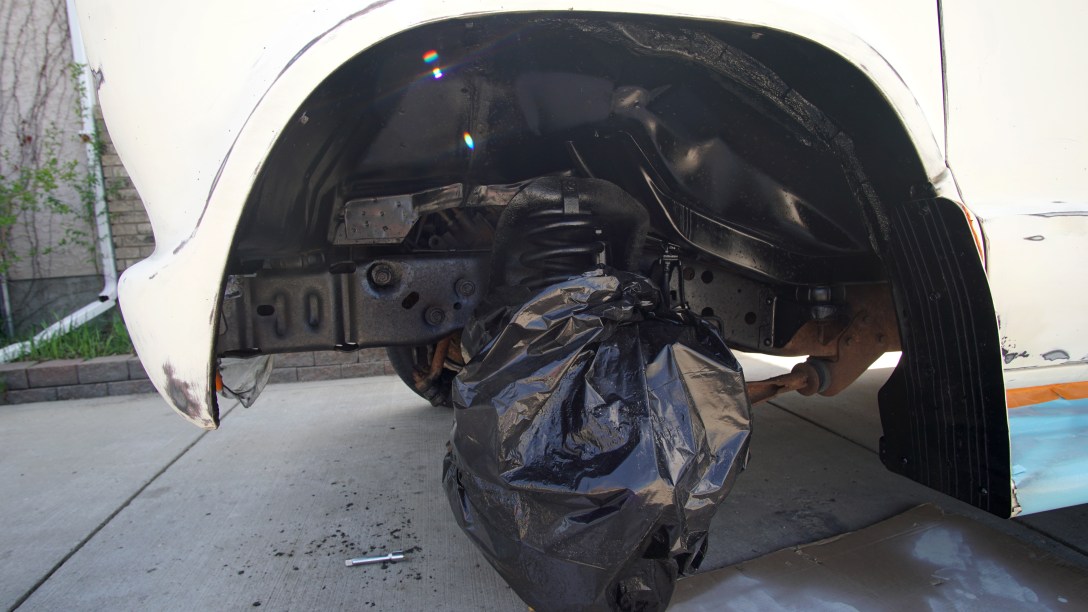
First off was to remove the rad and it was definitely a huge pain to do by myself as the stick that holds the hood up was in the way so I had to hold the hood up with my head to remove it. When I proceeded to clean it out with the pressure washer, thick red goo came pouring out. From reading it sounded like that could of been a previous owner pouring in radiator sealant for leaks, which made sense to me because once I got it all back together I had a pin hole leak spraying coolant everywhere. I pulled the rad back out in order to solder the hole and patch it with a concrete play-doh type material my mechanic friend Richard had kicking around his garage.
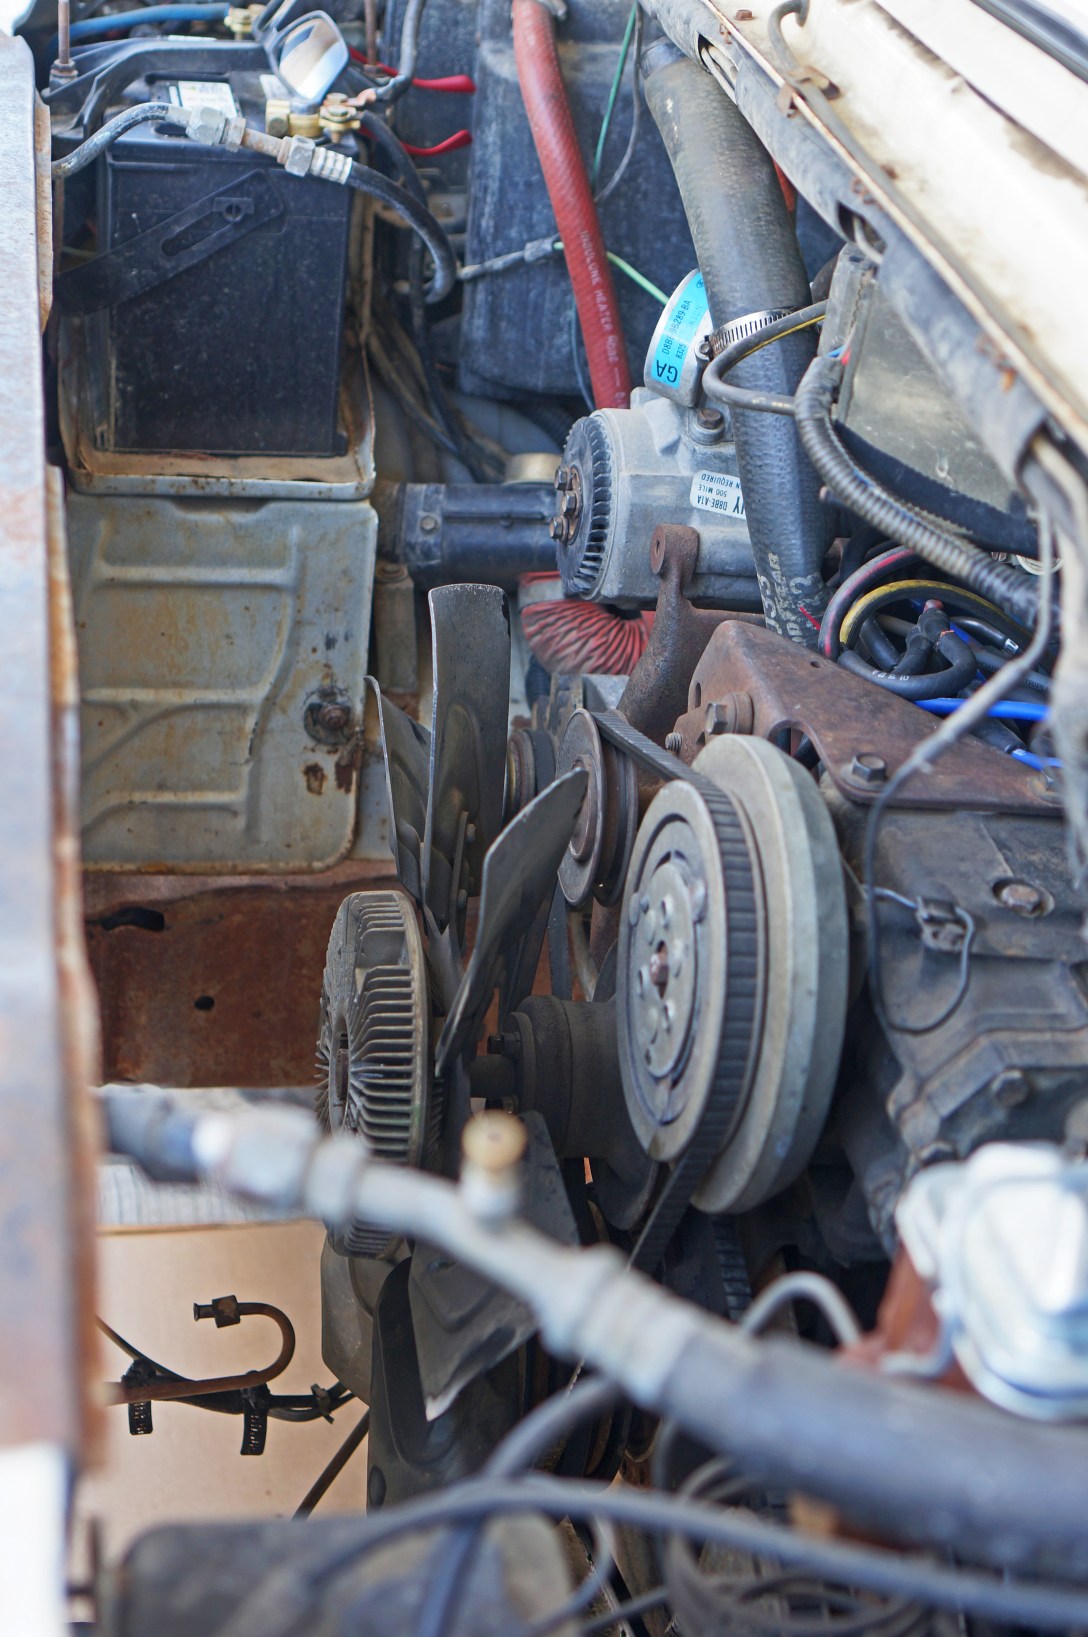
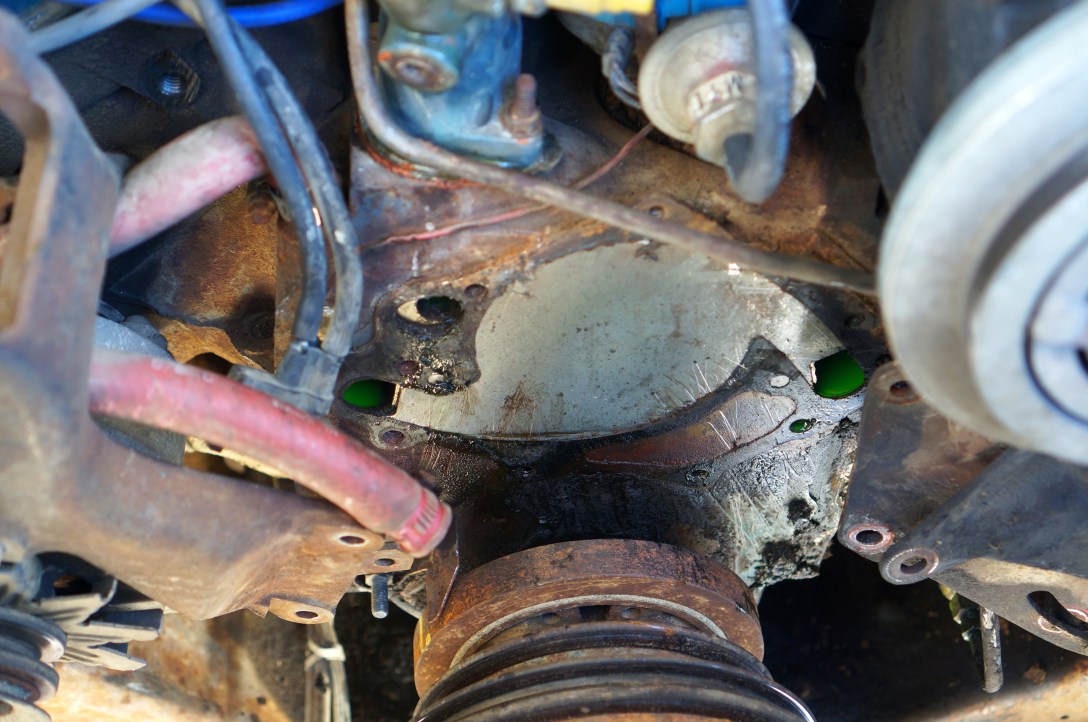
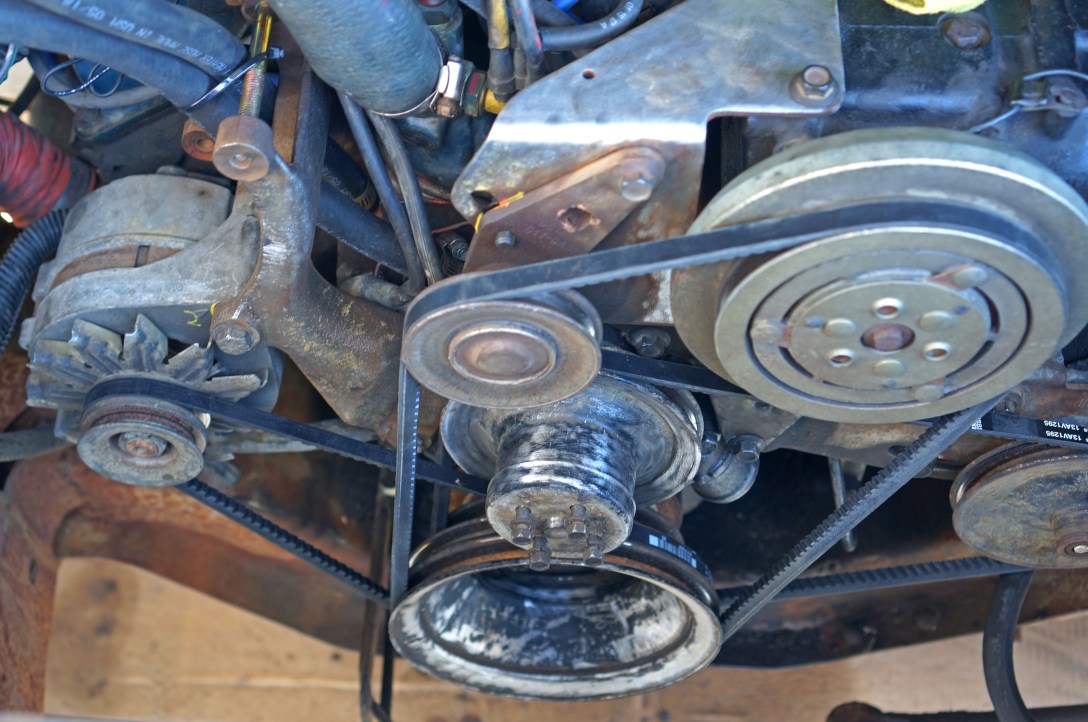
Next up was to pull all the belts and unbolt everything attached to the water pump (power steering pump, air conditioning bracket, idler pulley, alternator, and the fan / fan clutch motor).

Once everything was unbolted off the water pump and I got the water pump itself off, I was left with a rough surface I had to shine up to accept the new water pump/ gasket.
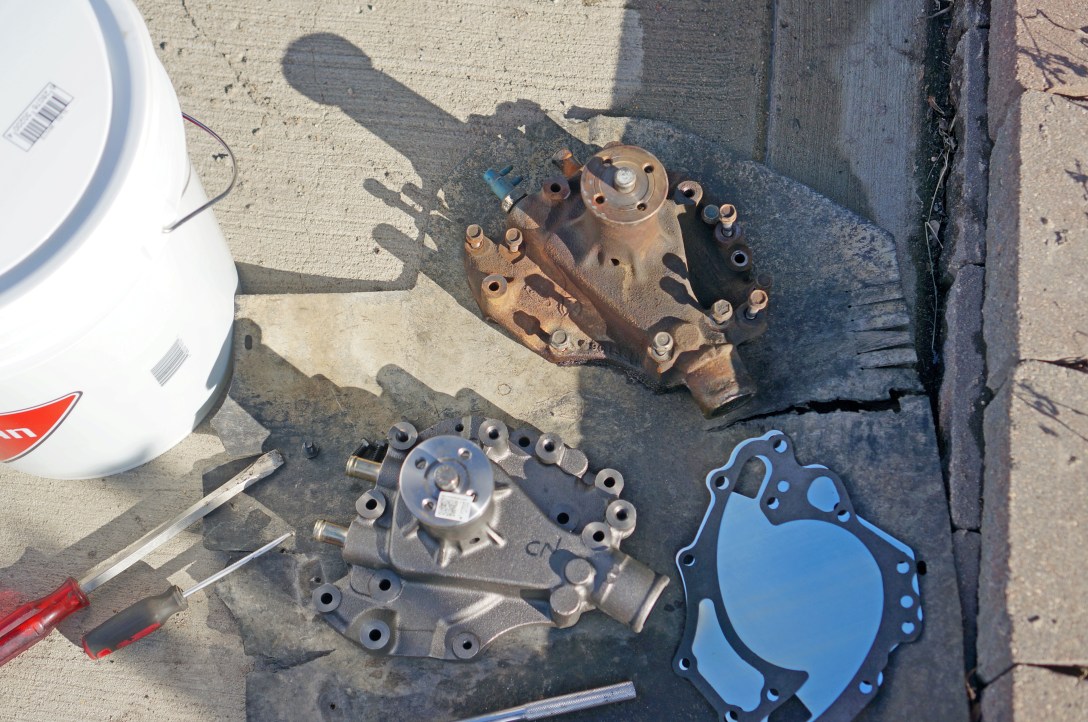
Above is the water pump I ordered online, but it ended up being for a Windsor engine instead and I needed the Windsor modified water pump. I now have an extra pump laying around. Maybe I’ll make it into a coffee table or something.
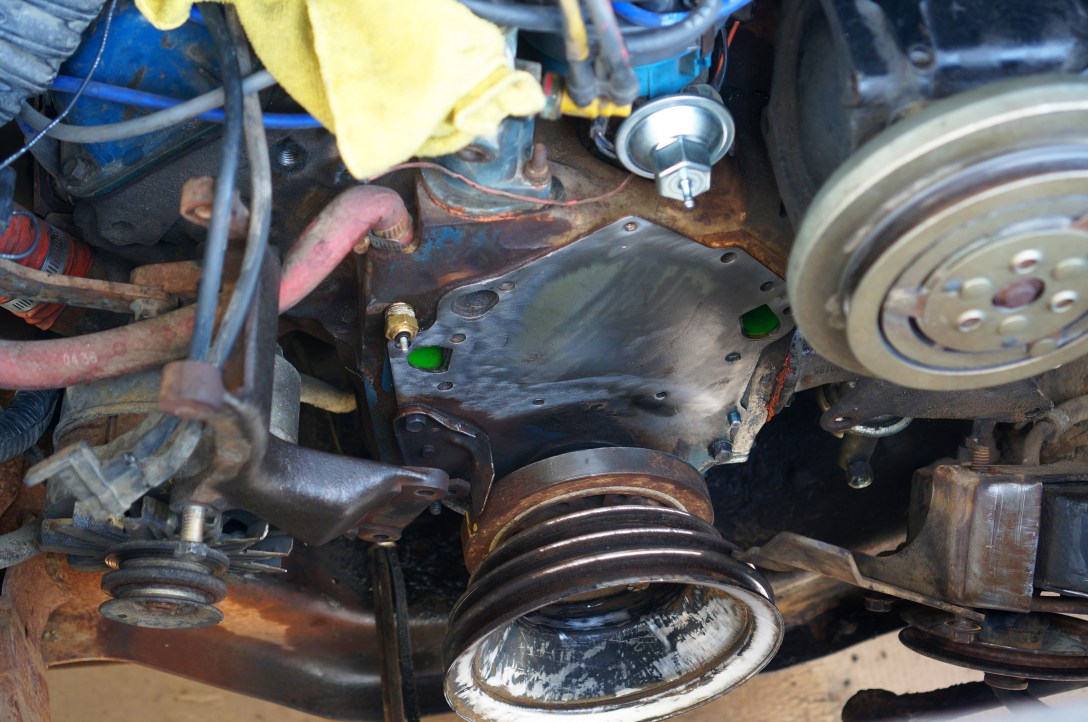
Once I had the water pump mounted and everything bolted back onto it, I was onto belts. I had some issues buying these too. I had to get one ordered in because they only had 2 out of 3 I needed in stock. Once the third belt arrived I picked all of them up, however the one they ordered separately was wrong (too short). In the end they actually had the correct one in stock the whole time.
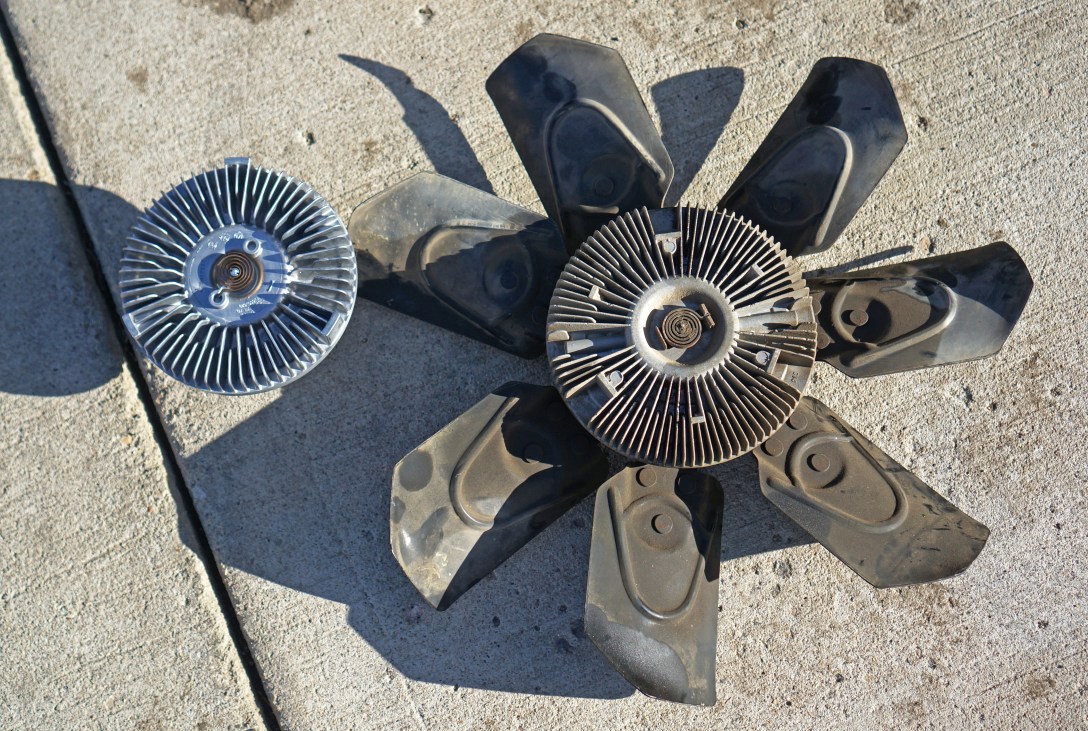
Next task on the list was swapping out the fan clutch motor, which bolts onto the fan. Since we were overheating at idle in the heat, I really thought this part was the culprit. The fan clutch motor has a thermocouple in it that makes the fan spin faster when the engine gets hot. When you’re at idle there is no air being forced into the rad via the driving so the fan is doing lots of the work to keep the engine cool. I bought the most heavy duty one I could since this old engine tends to run quite warm in the heat and when going up big hills.
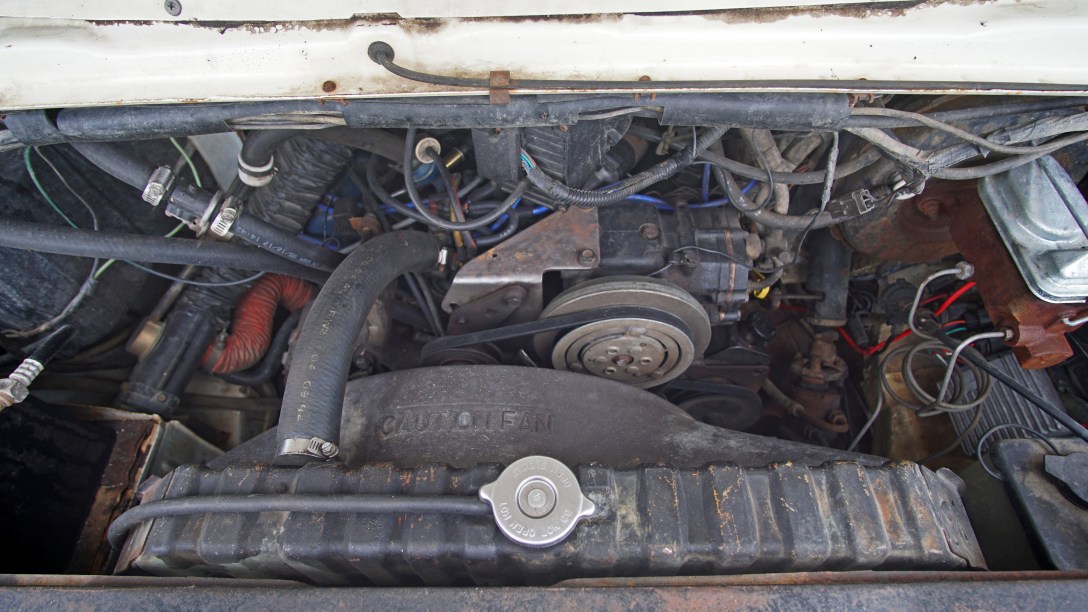
Once the fan clutch was back on I carefully installed, uninstalled, repaired and reinstalled the rad. I then filled the system back-up with fluid.
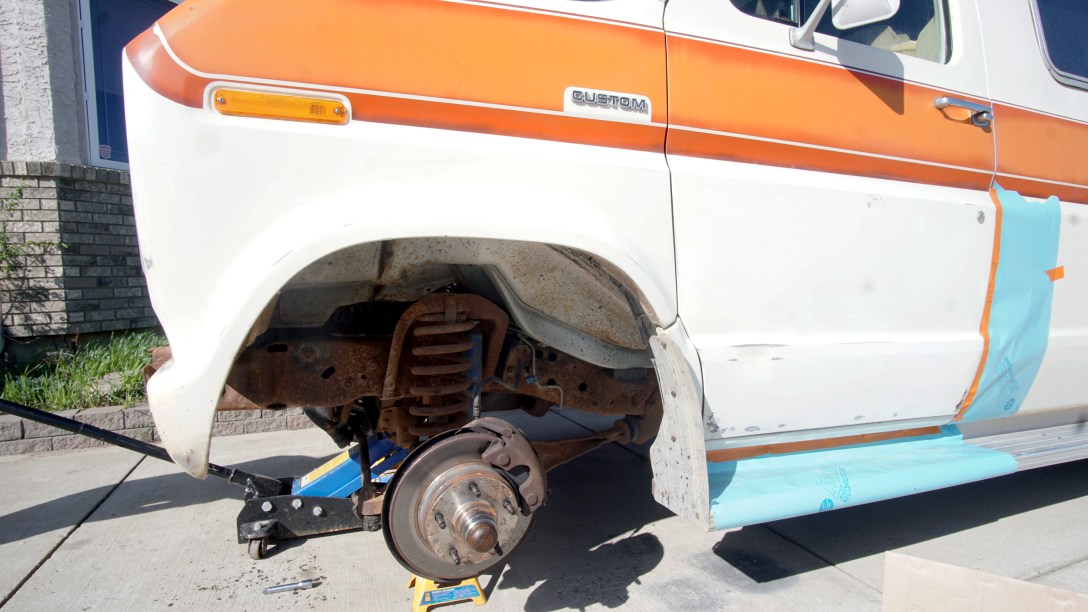
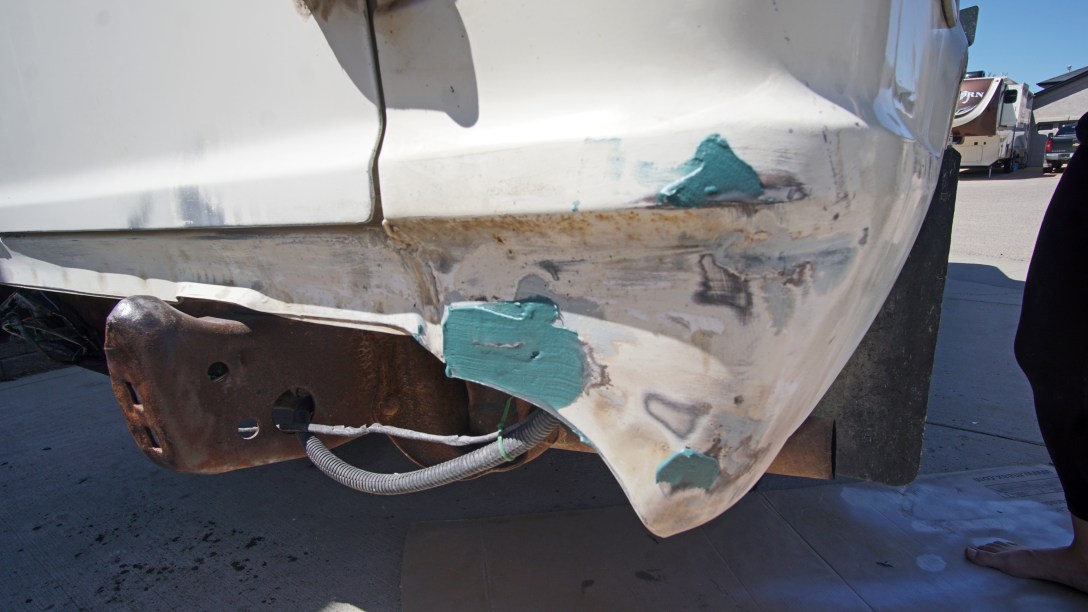
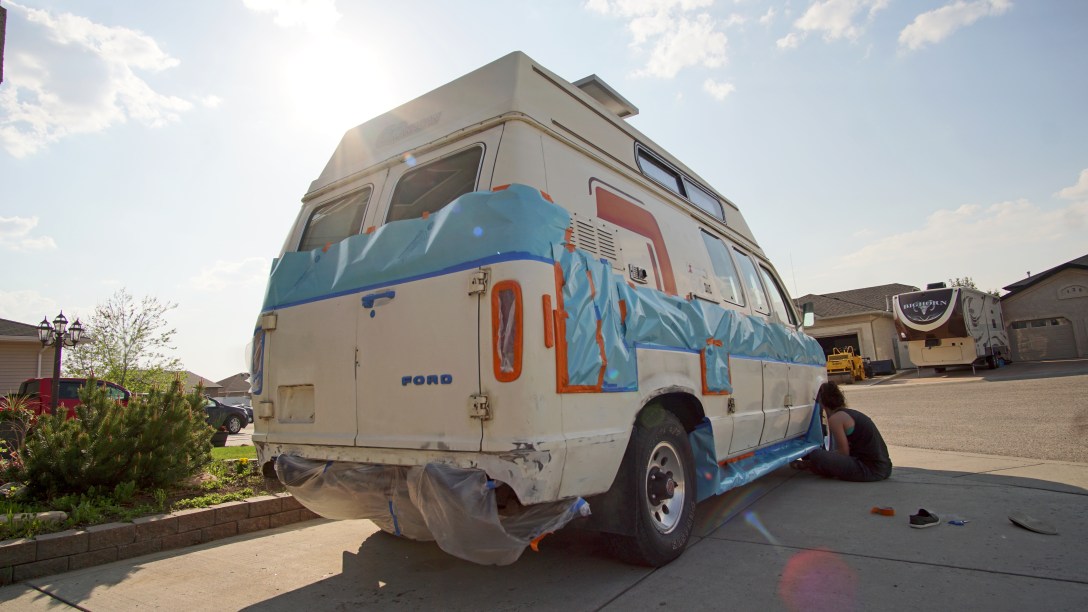
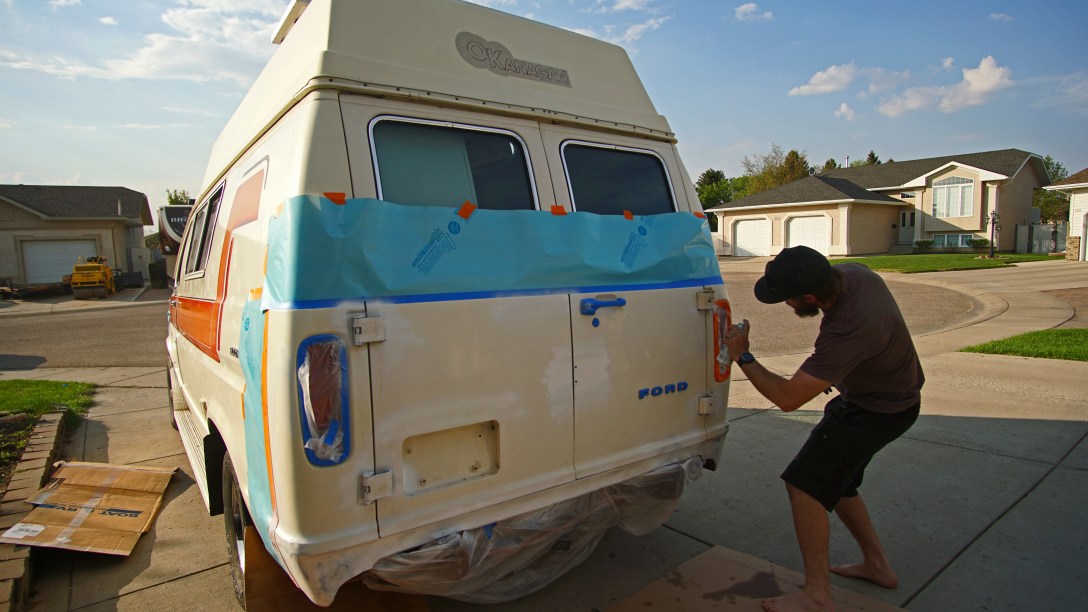
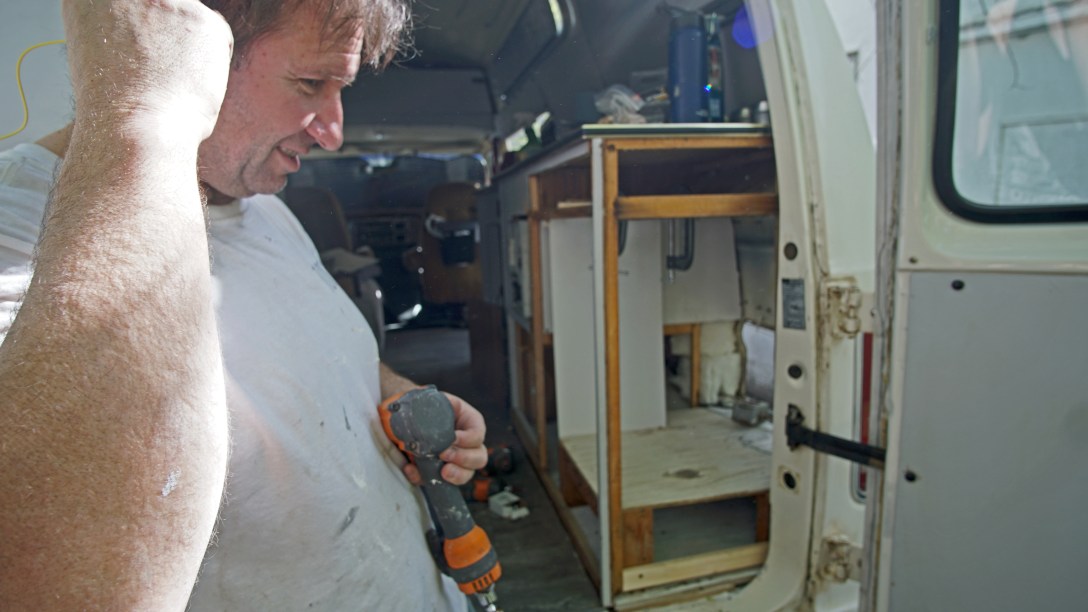
Auto Body Work
The next big project this spring began when Marisa returned from work, because she had taken a job up in Northern Canada. Days off didn’t mean rest for her though. We began the long process of prepping and painting Betsy. This included spraying the wheel wells black, repainting the lower part of the body, painting the bumpers and replacing all the door seals.
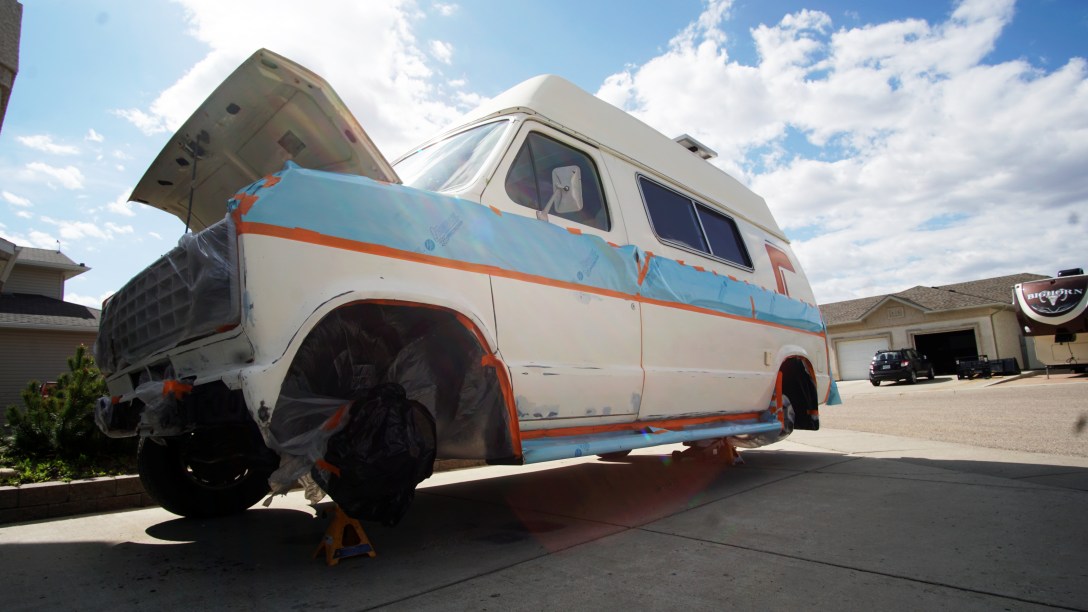
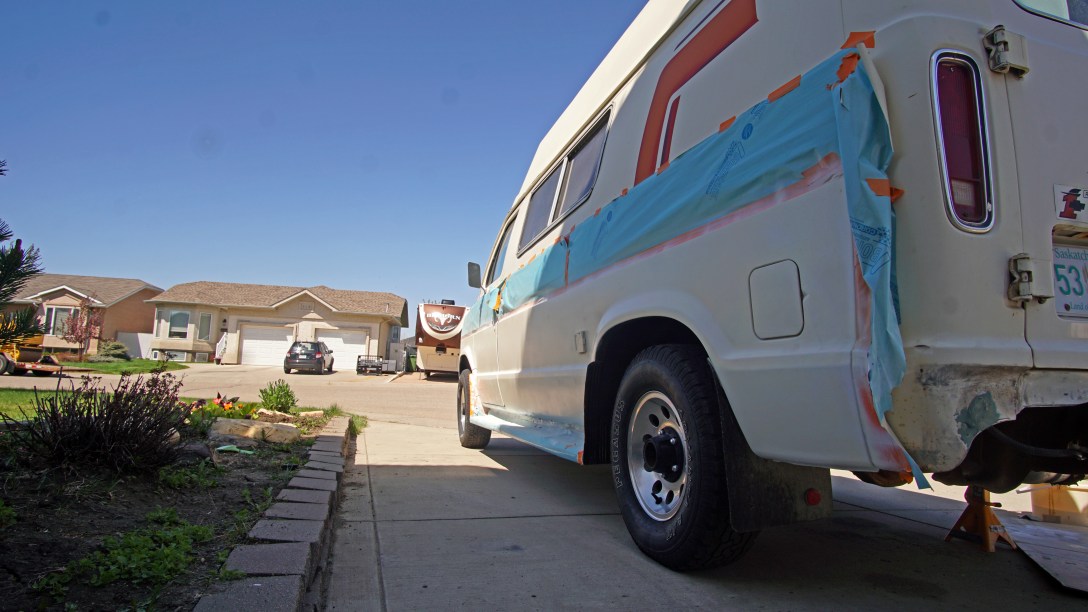


We really lucked out with the weather and we’re able to get it all done in one continuous shot, in addition to the one day we took off to replace and install our new fridge.
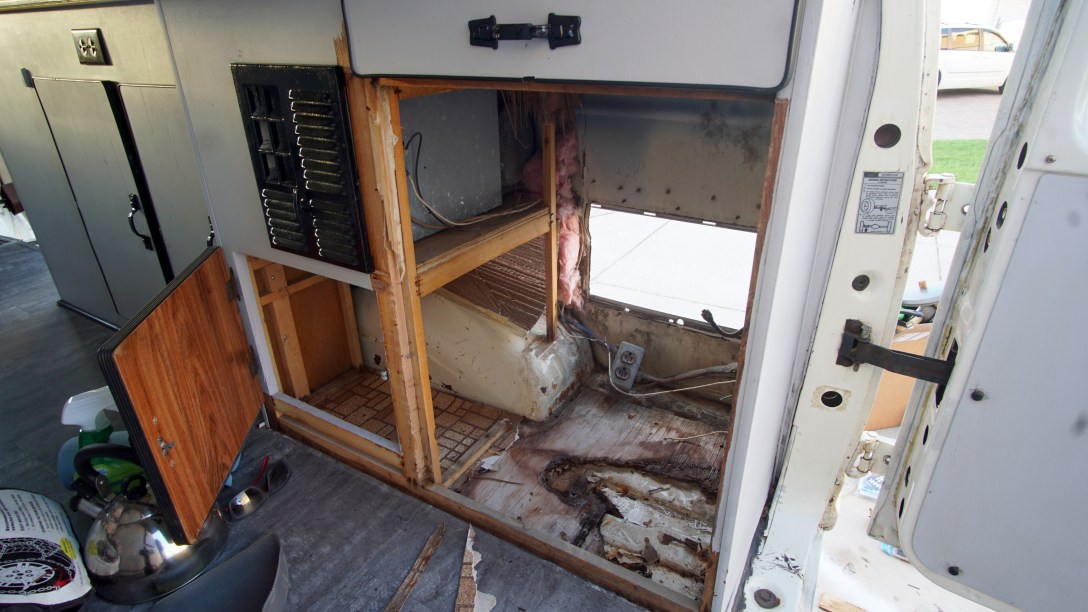
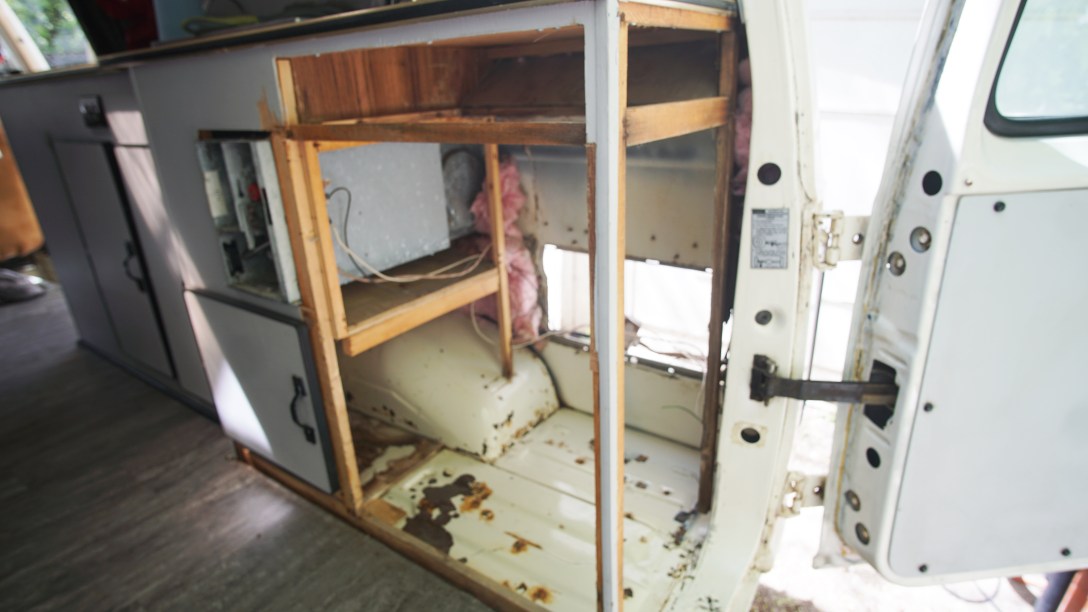
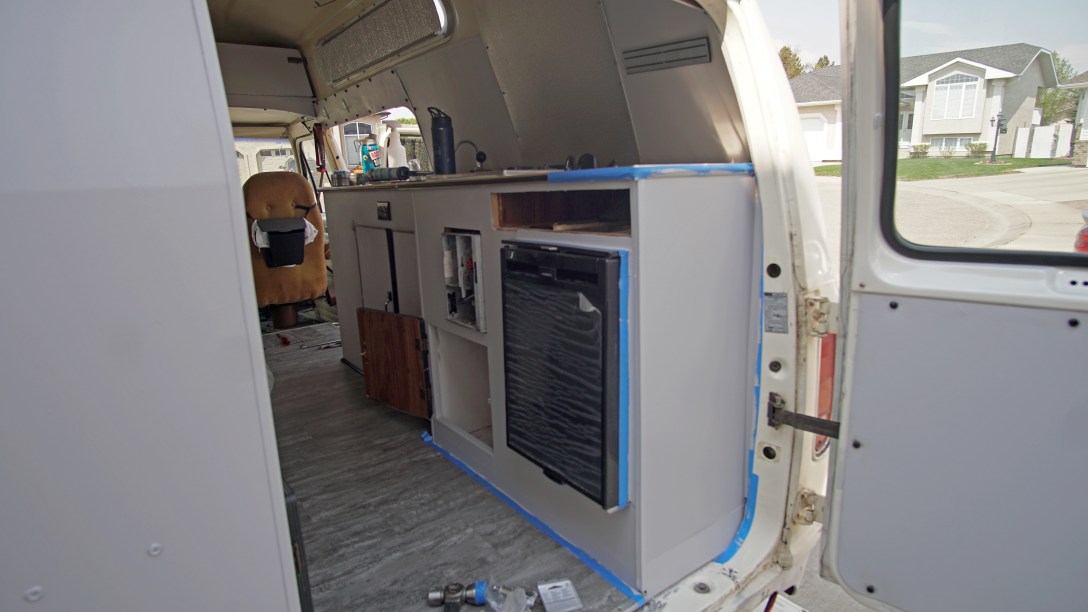
Fridge Replacement
Since we’ve owned Betsy, we’ve only been able to get the fridge to work off 120V power, meaning we had to be plugged in. This summer it was necessary that we needed our fridge to now run off the 12V house battery under the hood. I started messing around with the wiring with hopes of trying to figure out what was wrong, but decided I wasn’t a refrigeration technician and we opted to replace the fridge with a brand new one.


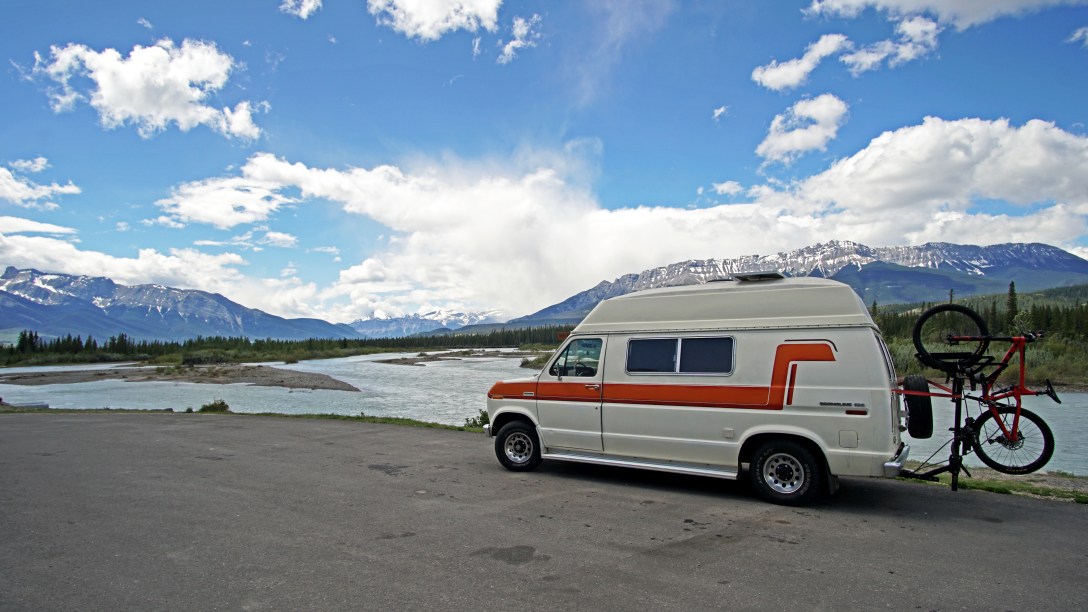
It was a hectic spring fixing Betsy and making her livable for a hot Okanagan summer to come, but we’re 3000km+ since the repairs and all is holding together nicely. We also get a lot of compliments on our lovely lady and that alone keeps our spirits high. We love showing Betsy off and plan to keep her up for the forseeable future.
Oh ya, I also wired in a 100W solar panel mounted on the roof so we can stay stationary for longer periods of time now!
Posted by Mitch

Amazing work and wow Mitch you and Marisa are Tiny home builder’s- home on wheels. I love the final photo- Betsy is a travelers dream. Enjoy, It shows what great team work can do:))
LikeLike