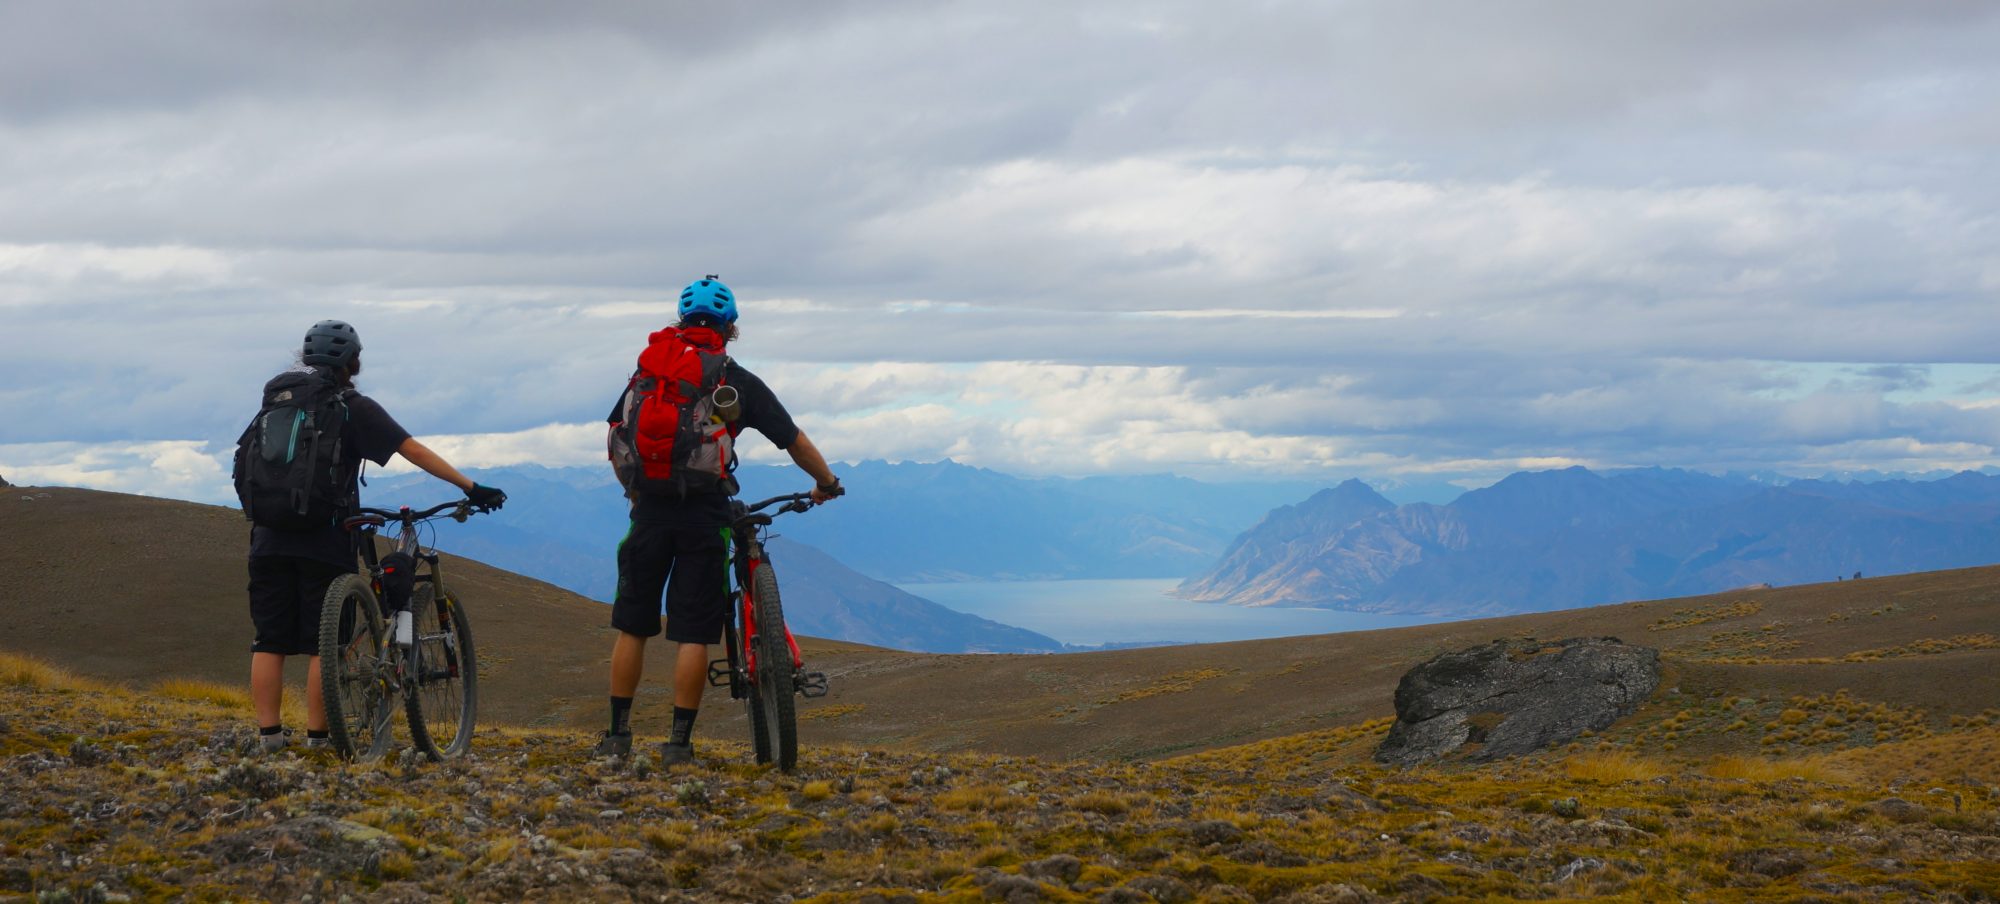

There’s a new craze taking off in the mountain biking community for those who want to venture off, spend some time away from the crowds and connect with nature in the remote backcountry. Bikepacking, it’s in and it’s only getting more popular with advances in gear to store and carry along all you could ever need to survive in the bush with just you and your trusty bike.
Similar to ski touring during winter, bikepacking on a MTB provides that same rush of backcountry adrenaline, in addition to pushing your limits further by the amount of distance you can now explore with the advantage of being on two wheels. It’s addicting and it’s becoming my new favorite if not only way of mountain biking I want to ride.
Like most backcountry enthusiast it’s all about being prepared, knowing the risks, having a plan (and back-up plan) and packing the essential gear suited for your trip. And you’ll want to be prepared and not overload, because whatever you bring along.. you and your bike have to lug it up and down that mountain!
It’s a new form of taking trail riding to the extreme and it’s coming in hot! I’ve only started to finally get a feel for what kind of set-up I can pedal the extra mile, and how much weight my bike and back can put up with. For those interested in trying out or adding a new challenge to their MTB routine, here’s a few Bikepacking 101 tips to help ease the stress of where to begin, keep the gear simple and light, and push you in the right direction of where to move forward with this amazing way of exploring what the backcountry has to offer by the means of your MTB.
1. YOUR Trail Type
No two riders are alike, and what type of trail(s) you want to tackle bikepacking all depends on the type of rider you are and/ or want to become. If I had to compare this season with my last, it’s like trying to mix oil with vinegar.
You definitely need to be realistic with what trails to research and find the ones most compatible with your riding level and ability. I’m all about pushing it to the next level, but if it’s pushed too far… well injuries can obviously arise, and for me the interest of continuing in the same direction tends to divert the other way.
Stick to what you enjoy riding, the progression will come the more times you get out there! Read reviews and use the resources available online or talking to locals within your MTB community. Trailforks has become my go to for finding what tracks I can now tackle by its handy layout showing elevation gain/ loss, distance, grade, and usually a mini summary of what to expect during the bike.
It doesn’t matter if you bikepack green, blue or black tracks, the beauty of the challenge is to get out into backcountry on your bike. No bikepacker is the same, so whatever trail(s) you MTB are what your backcountry bikepacking adventure is suppose to be about!
2. Going What Distance?

The idea behind the new bikepacking craze is how many miles can you really go? It’s not in ever rider’s interest to pedal just as much up as down, or clock 40, 50, 60+ km’s in a day. But that also comes in again with progression and better yet training. You never know how far you’ll go unless you try right?
Being said that, the length of distance you want to achieve is really your call. It’s all about how many consecutive days in a row you can withstand sitting on that saddle. Once you have a chosen trail you want to bikepack, from there you can breakdown the trails and it’s km’s over how many days of riding you want to do, in addition to how many hours of daylight pedaling you will have or need… aka how early you might need to get up and get biking! Always plan for it to take on the longer side of the clock spectrum, especially when the trip becomes more than just you alone.
The best approach is to not rush the days, set-up and follow your estimated time schedule, and to remember to take breaks. You’re getting out in the remote backcountry, so why rush the surrounding beauty you get so fortunate to explore on your MTB? Bikepacking isn’t a competition, an enduro race or an excuse to brag to others that you’re hardcore and can MTB through 10’s of thousands of km’s of bush alone. Keep it classy and enjoy the scenery around you, because these trips fly by fast on a bike, and what felt like forever and never-ending will be something you’ll definitely appreciate achieving in the long run.
3. On the Bike vs. On You
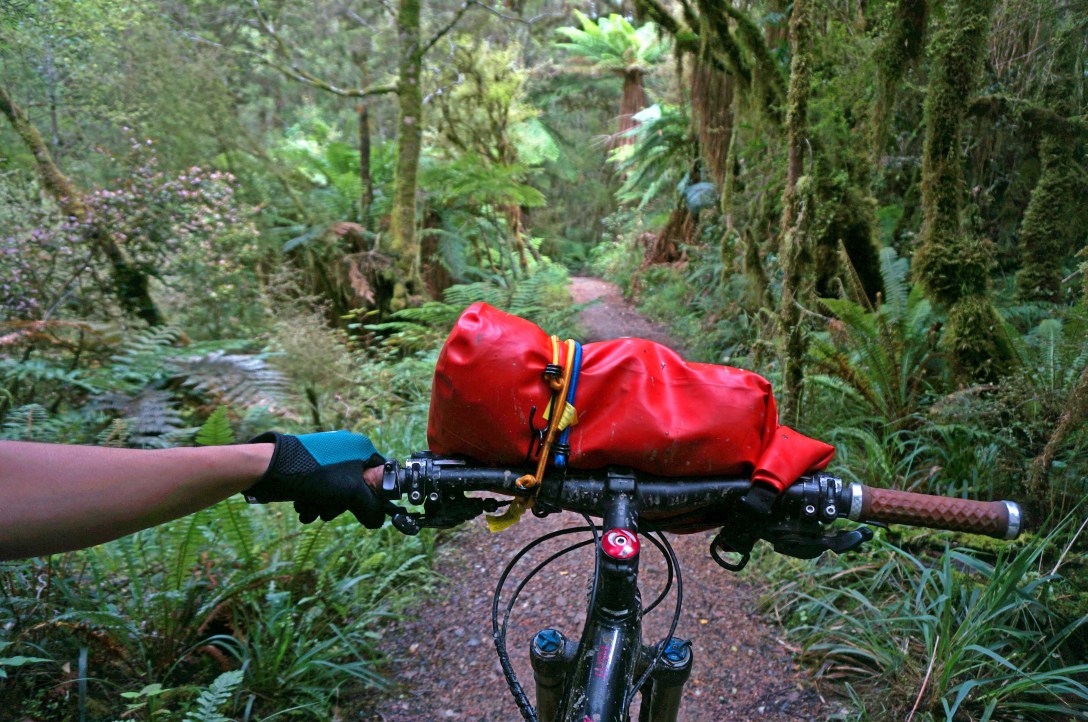
This is where it becomes crucial with selection and not to overthink what to bring along for your bikepacking trip. I like to think of breaking the gear into two groups; what’s going on the bike and what you’re carrying on your back.
From my experience keeping it as close to 50-50 would seem most ideal, but the reality and what I’d recommend best is 70-30 (70% being on the bike that is). Another factor is what sort of gear to pack and bring along? That all depends on the number of days, environment you’re going into, weather conditions and the season. For this tip here’s an all around GEAR LIST that can be used or tailored around when preparing for a bikepacking trip whether it be for a few days or pushing towards a month’s duration.
- Bike attire (shorts, shirt, socks, protective gear, sunglasses, footwear, gloves, helmet)
- Sleeping bag/ compact sleeping liner
- Bivy, sleeping pad or small tent (if your trip doesn’t involve staying in huts/ cabins)
- Quick dry towel
- Emergency blanket
- Rain jacket and insulated down
- Non-biking attire (keep it light and warm for wear in the evenings)
- Light source (headlamp or bike light)
- Seal or waterproof compression bags (aka, what’s holding all the gear on that bike!)
- First Aid Kit
- Sunscreen/ Bug repellent
- Lighter/ Matches (candles are a nice addition too!)
- Bikepack (keep it under 20 L)
- MTB Tool Kit (multi-tool/ Leatherman, tube & repair kit, pump, levers, spare brakepads & quick links, chain braker etc.)
- Cookware (ex: I bring along my Jetboil, fuel, camping mug, spork, and some dish soap/ towel)
- Notebook and/ or a deck of cards
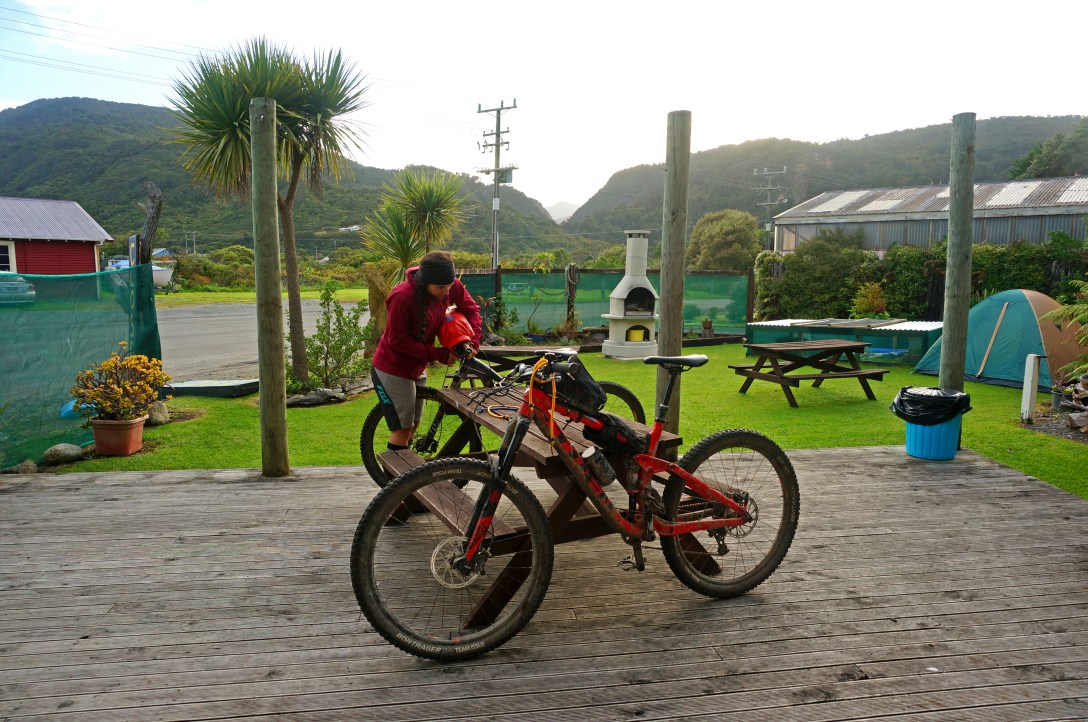
With a list of essential gear the next step is deciding where the gear will go on the bike and on your back. Tools and heavier objects tend to go on my bike rather in my pack where I like to keep a second layer, food (which I’ll get into next), and a pretty full camel-back. If it makes the most sense.. it’s easier to access the things you’ll need during your bike from a bikepack than fastened on your bike frame. The more times you gear pack, the easier you’ll figure out what works for you and how much weight you want to carry on your bike vs. back. It’s never a bad idea and something I recommend doing the day before your bikepack trip… practice pack!
4. You Gotta Eat!
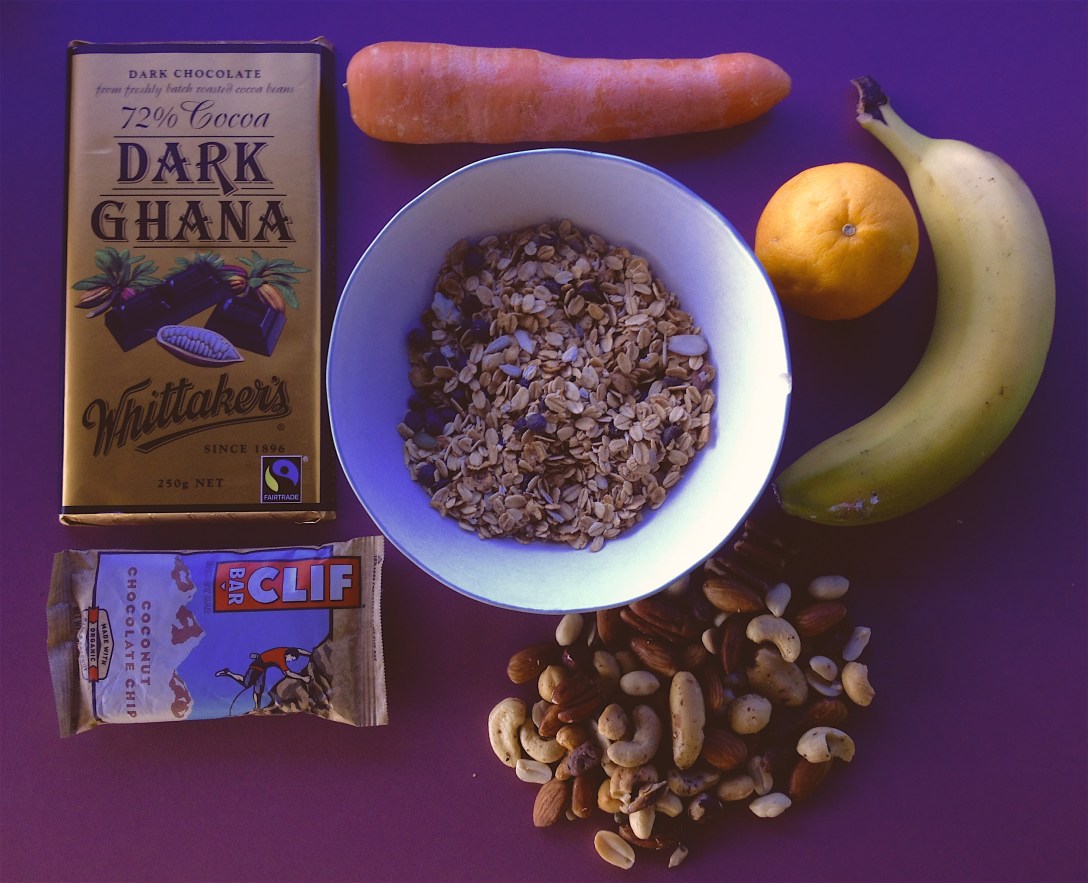
This is probably one of the biggest things that stresses me out, how much food should I bring? Before even getting into the topic of food, I’m going to first state that while bikepacking and getting out into the remote backcountry the key with eating is bringing along ACTUAL food. No dehydrated meal packages, energy gels, tablets, powders, liquid meal replacements… EAT REAL FOOD!!!
You don’t have to torture yourself packing next to nothing and thinking real food will weight your load down or go bad. I’d rather have food that has all the nutrients and essential minerals my body needs and keep away from unnatural mixtures heavily coated with preservatives. And if you’re also planning on a budget, it’s actually way cheaper to pack the real grub.
Basically, when breaking down how much food and portions, the easiest plan is breaking it down into breakfast, lunch, dinner, and emergency/ extra snacks per day. Portions all depend with how hungry you get (or when), and how many persons are involved in the trip. For example; I tend to pack a pretty filling fiber-rich breakfast (usually oats and fruit), a lighter lunch (nuts/ seeds, fruit, small veggie sandwich) since I don’t tend to want to over stuff myself while biking, and another filling meal for dinner (stir fry with veggies + spices). Go crazy on the snacks and mix it up, but emergency should be smart and minimal as last resort grub if you get stranded or add an extra day on.
Another topic of concern is water and how much. My camel-back is 3L and for most full on day trips I fill that bag close to the top. You can’t always rely a water source will be somewhere along the way. This also relates back to trail research and knowing what kind of route you’re about to get into. If it’s hot and you’re pedaling a majority of up vs. down (especially in the hot summer heat), it’s better to have more than you think you’ll drink. It’s also never a bad idea to add some extra electrolytes to your water. If it’s in the budget, nuun like tablets work or just the natural method of adding some salt, lemon and a sweetener like honey or stevia. You lose salt, essential minerals and water when you sweat, so replacing the body back with all what’s lost from perspiration (or while “hunting for blueberries”) is really important and in turn will prevent dehydration, muscle cramping and/ or fatigue.
Planning your food (and water) by meals makes it easier for packing what’s on the bike and what’s in your pack for the day. It’s all about being efficient while keeping you 100% fueled during your bike!
5. Where to Next?

Once you’ve figured out what trail, trip duration, gear, and food to take along… well you’re pretty much on your way to the start of what the bikepacking adventure is all about! From there and like most sports, it all depends on whether or not you’ll stick it out. For myself it’s become an opportunity to try and knock off a bucket list of tracks never before thought possible. No trip is the same, some are steep and you push up more than pedal, some are muddy and frustrating, some are bluebird and flowy… the list goes on and on. The trip, who you’re with, and the weather especially is what you’ll make of it.
Just remember that it takes time, progression and lots of practice to get your version of bikepacking down to a T. Things won’t always go as planned and in general it’s a hard workout with a satisfying outcome of achievement. I encourage those interested and questioning to get out bikepacking… but make sure you do a quick check over of your bike before you take it out for a pedal into the bush!
Posted by Marisa

Awesome post girl!
LikeLike
Thanks Lady 🙂
LikeLike
wow! Awesome and informative article
LikeLiked by 1 person