
I have always been the type of person that liked to take care of the things I owned. When I bought my first dirtbike at the age of 14, I would clean every spec of mud off and Armor All that thing top to bottom after every ride even if I knew it was going to poor rain all night and it was going to be 10 times as muddy the next day. I just loved how good it looked when it sparkled!
The 1989 Ford Econovan that I own with my girlfriend is no different than that dirtbike. We want it to look its best as this vehicle is our home, transportation and people identify us with it. We often meet people in the bike park and tell them to meet us at the white van with bikes on it. It’s no different than when your parents used to or still do tell you to clean-up your room as people are coming over and they don’t want the place to be a disaster.
When we bought our van, we talked about re-doing the inside and touching up the rust on the outside. Time didn’t seem to allow us to get on it asap and more importantly it was hard to find a place that we could work on our van for a long duration. When we met a local kiwi, James, in Rotorua he welcomed us into his home and we saw it as an opportunity to do some of the repairs we had been earning to do since we got it.
We started with the interior. We thought a little paint and some new floor would do wonders. We began by removing all the doors and this may seem like it would take more time, but doing this enables one to take advantage of using a roller for more of the area. Anywhere you can avoid using a brush will save heaps of time as well as making it look much better. We even removed the handles from everything as it follows the same premises as above. Once we primed, painted, and the doors were back together we reinstalled the doors and moved onto the floor. It had a wood finish laminate like material down and we were thinking about replicating this, but James’ dad had some leftover flooring from a past renovation and it fit perfectly for our floor plan. Score! I placed the old flooring on top of the new and cut a new flooring layout. To secure this flooring we used narrow base boards. We painted the narrow wood trim while it was whole and then cut it to fit all around. All in all, it wasn’t too bad because it was a small area, but it really pays to think out the process so you do it in the most time efficient manner. I mean we were there to bike and this renovation was eating up precious riding time!


When we dug deeper in the front section of the van we found under the rubber matting was some moldy old insulation. To remediate this we ripped out the moldy floor, primed the bare metal spots, and then sprayed the floor with a tough, abrasion resistant paint. The paint we used was called Hammer Finish by Septone, but any paint meant for metal with a tough or durable description will do.
")
")
")
")
| Interior Cost (Rear) | |
| Prep Supplies (Sandpaper, putty, brushes, etc) | $52.40 |
| Primer and Paint *Same primer for interior and exterior (assume 1/3 of cost) | $56.90 |
| Total | $109.30 |
| Interior Cost (Front) | |
| Prep Supplies | $0.00 |
| Primer/Paint **Same primer for interior and exterior (assume 1/3 of cost) | $36.55 |
| Total | $36.55 |
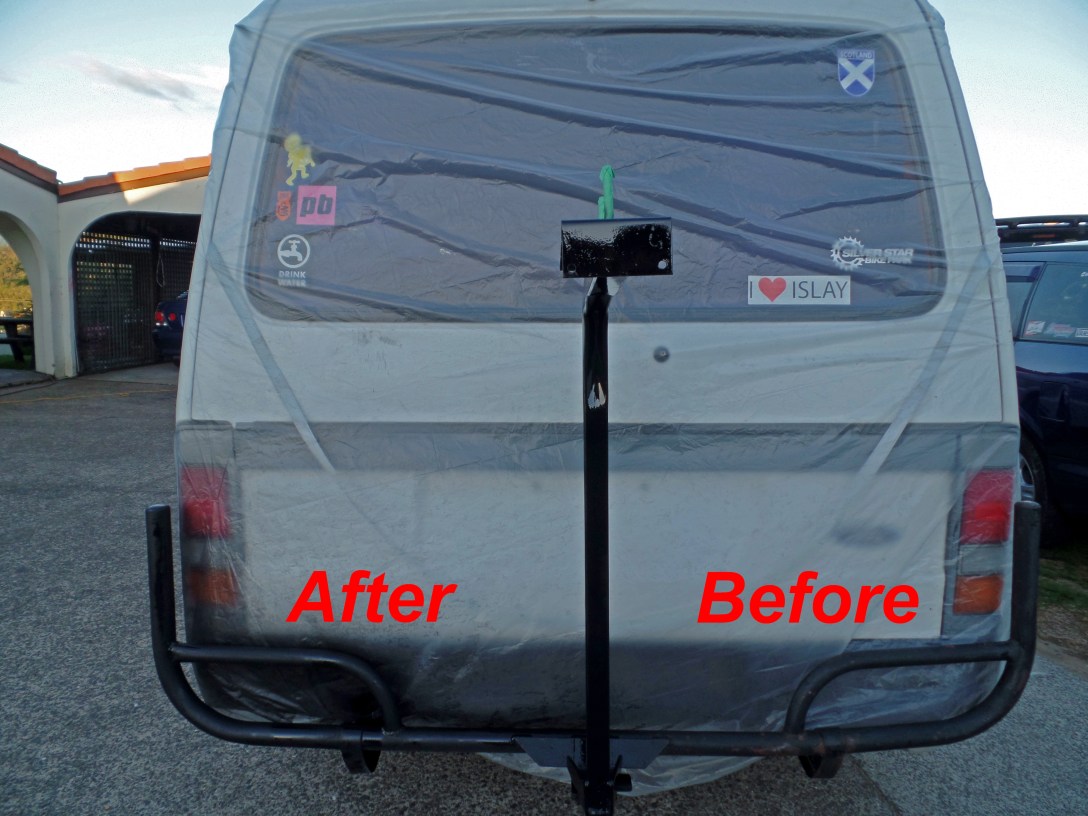
We then moved on to conquer the exterior as that’s what the majority of people see and actually had the potential of making our van fail a vehicle inspection due to structural rust damage. I also saw it as a chance to tackle some rust. I had never dabbled with automotive rust before this, but with a quick google and some advice from James dad (who happened to be a retired automotive mechanic) I jumped into it! It basically followed the premises of any paint job: remove the problem (the rust), fill in the gap/holes, sand, prime, and paint. I chipped off the rust with a putty knife and then sanded down the rusted areas. I then filled in the holes with an autobody filler that James’ dad provided and instructed me on how to use. Once you mix the filler with the hardener (the red stuff in the picture below) you don’t have a lot of time to apply to the problem areas. Once all the filler is applied it’s time to sand then prime and paint. I used the same primer that I used for the interior as it was labeled on the can to be suited for all surfaces. Don’t fall for all the gimics that you have to buy automotive specific everything.


")
We also decided to spruce up some of the parts that didn’t present any structural concerns, but would add to the overall presentation of the van. We sanded and painted the front and rear bumpers as well brightened up some of the door trim pieces, side mirrors, and even the mud flaps.


")
| Exterior Cost | |
| Prep Supplies (Sandpaper, plastic) | $10.00 |
| Primer/Paint *Same primer for interior and exterior (assume 1/3 of the cost | $56.75 |
| Total | $66.75 |
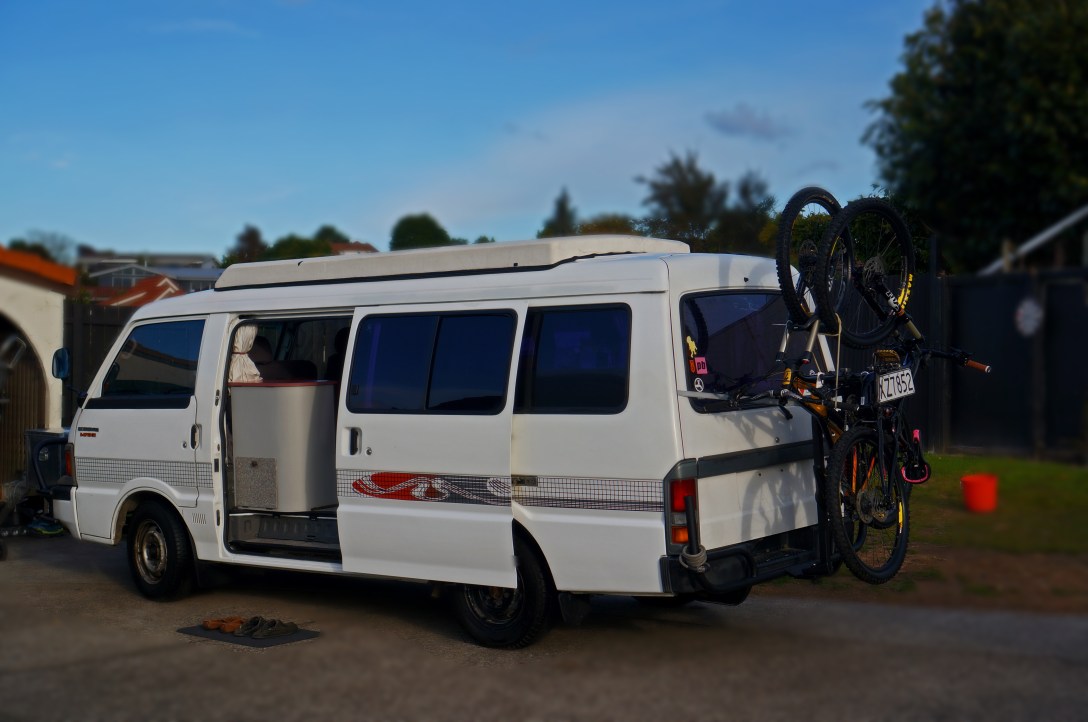
After about 10 days messing around and fitting in the occasional bike ride we finished what we set out to do. She may not be a brand new Sprinter, but to us she is a penthouse suite that rolls on 4 wheels and we are proud to show it to anyone who cares to stop by and have a look.
| Finishing Costs | |
| Wax/Polish | $8.40 |
| New Floor Mat | $8.50 |
| Total | $16.90 |
Grand Total (Interior and Exterior) *Including Labour*
|
$229.50 |
Posted by Mitch

Nice. Love the shoes on the mat outside.
LikeLike
Hehe yup 🙂
LikeLike